Before & After
Real results from real patients. See the transformative outcomes achieved through precision implantology and evidence-based treatment.
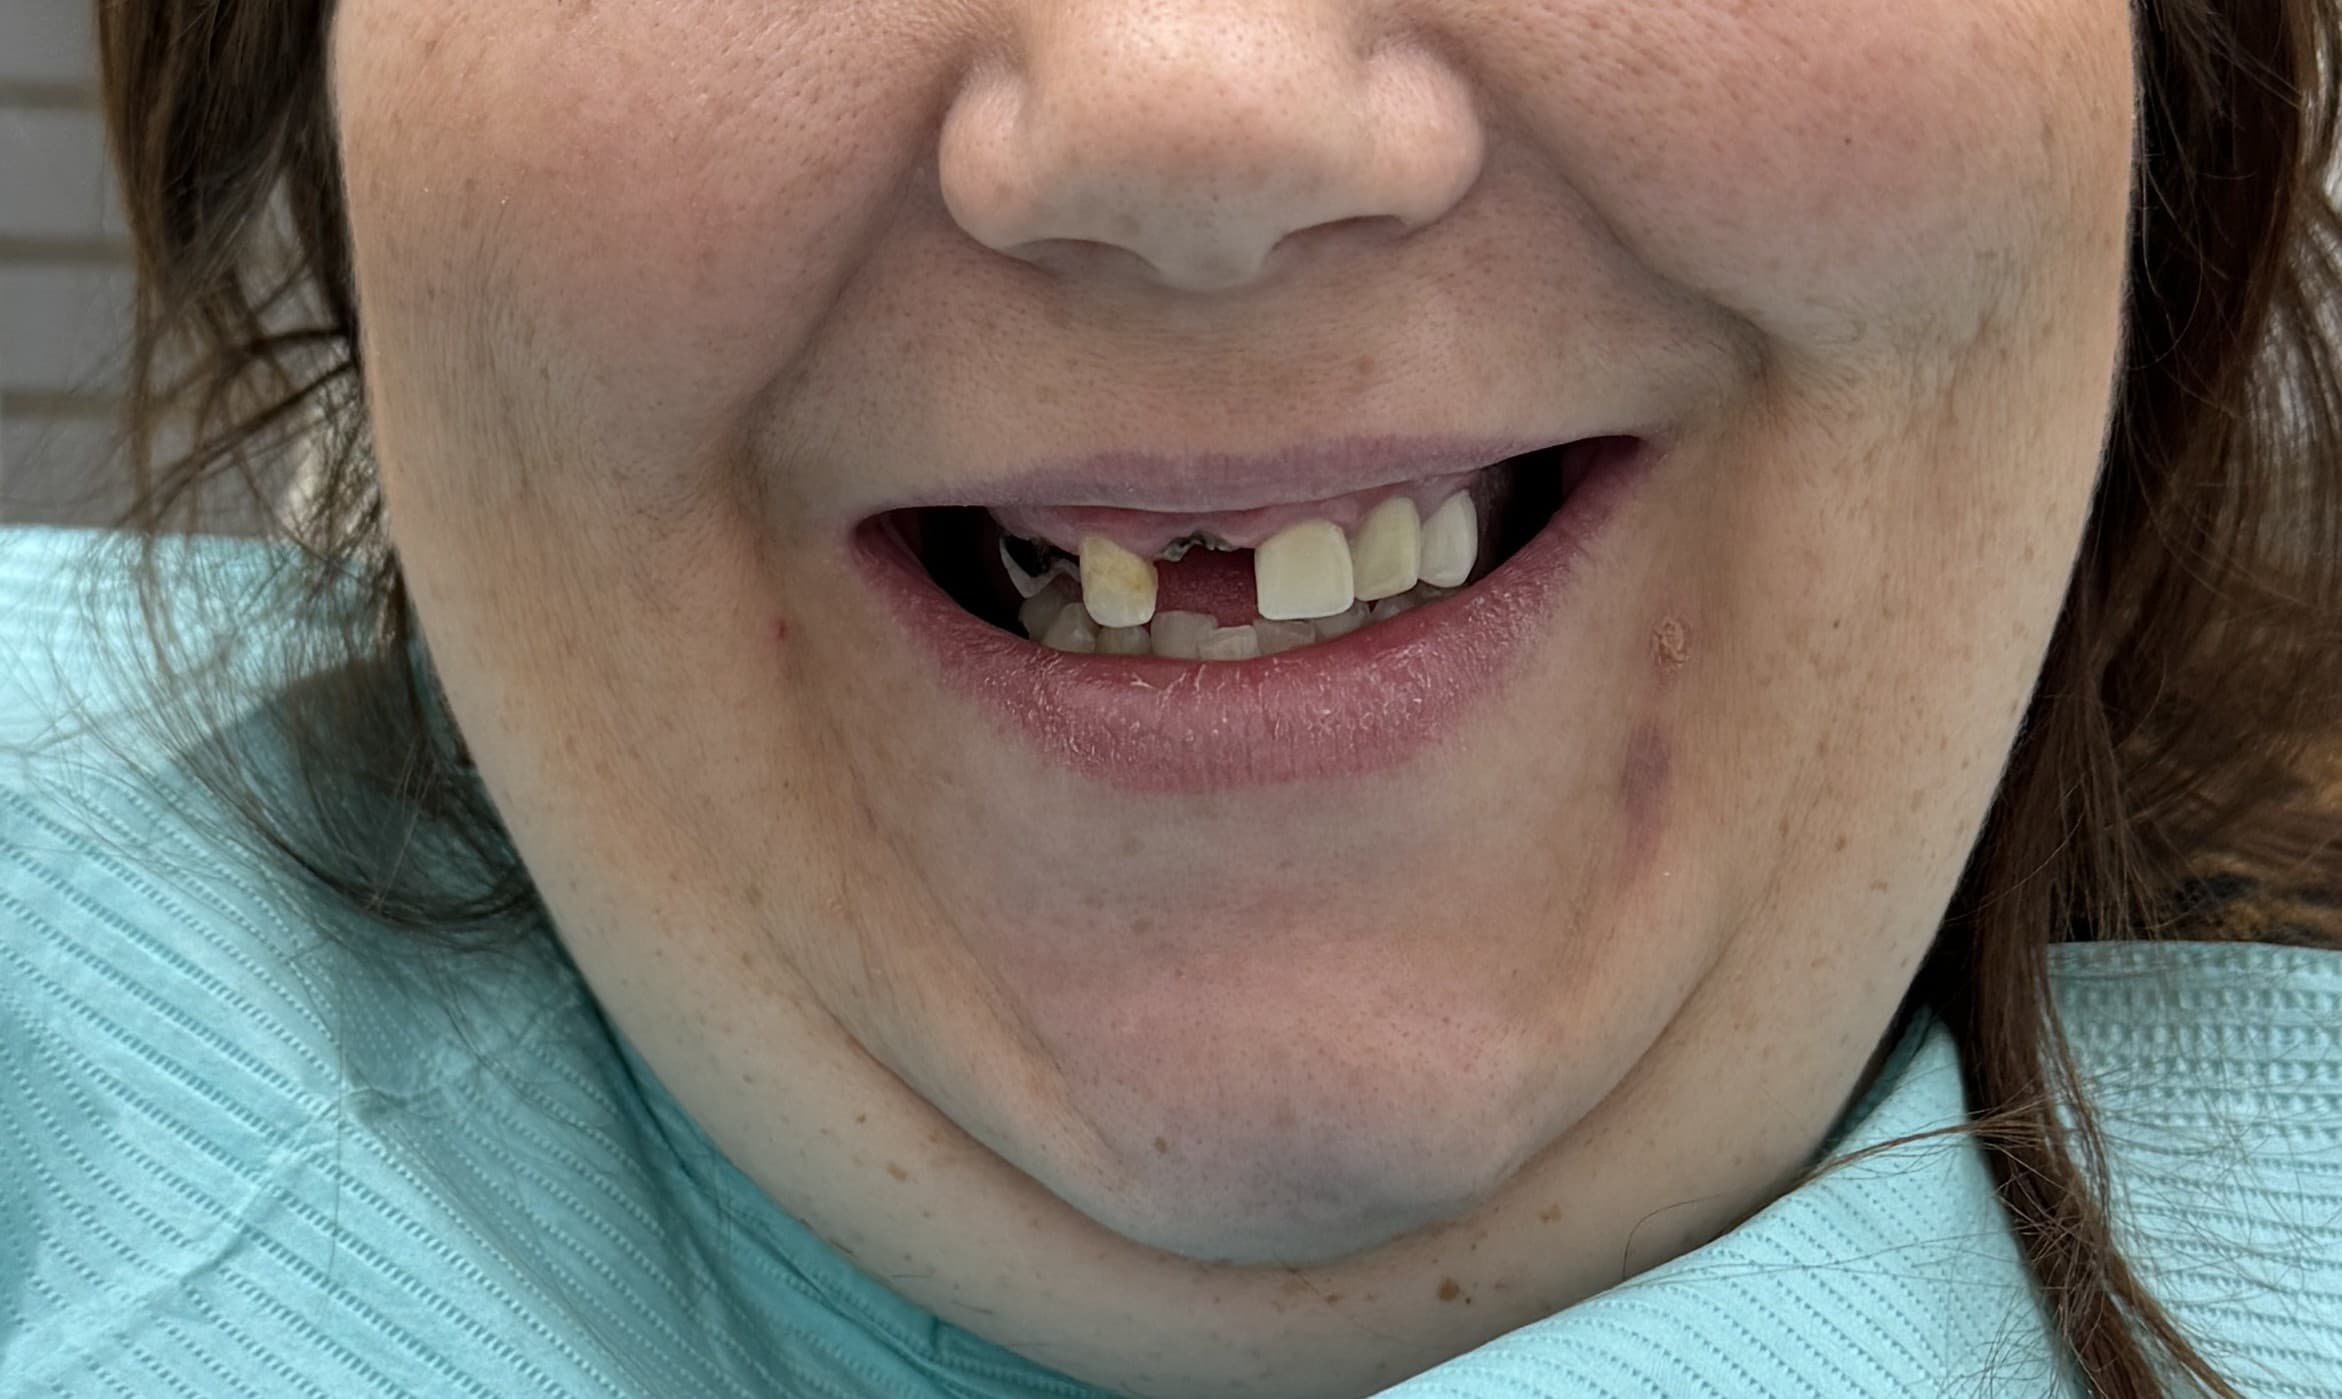 Before
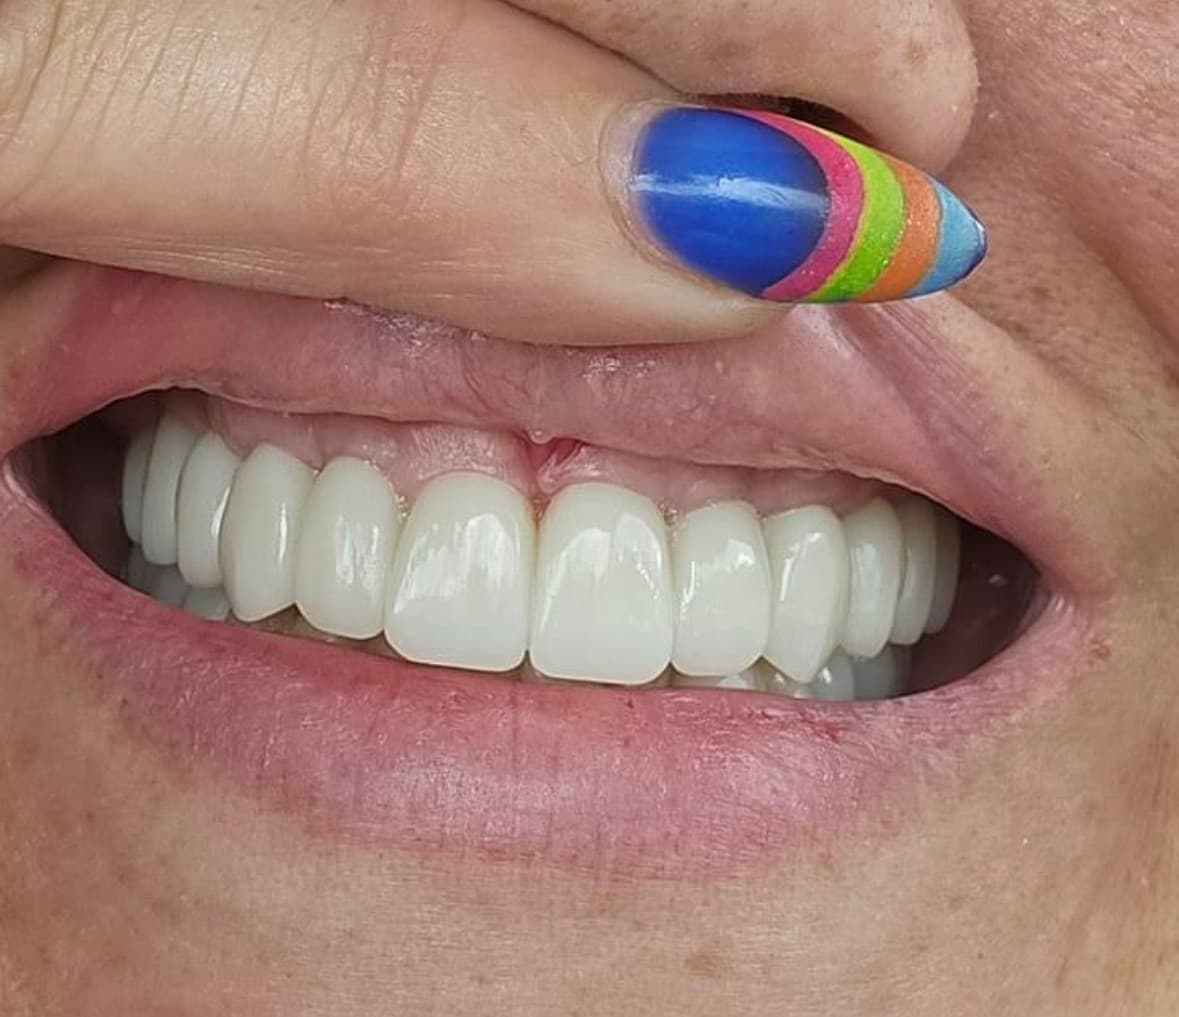 After
AfterUpper Arch FP1 Reconstruction
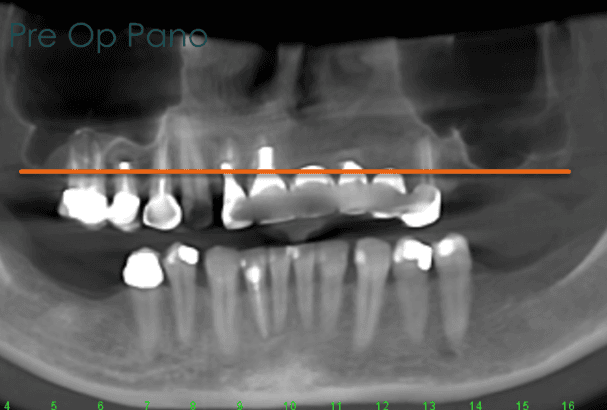
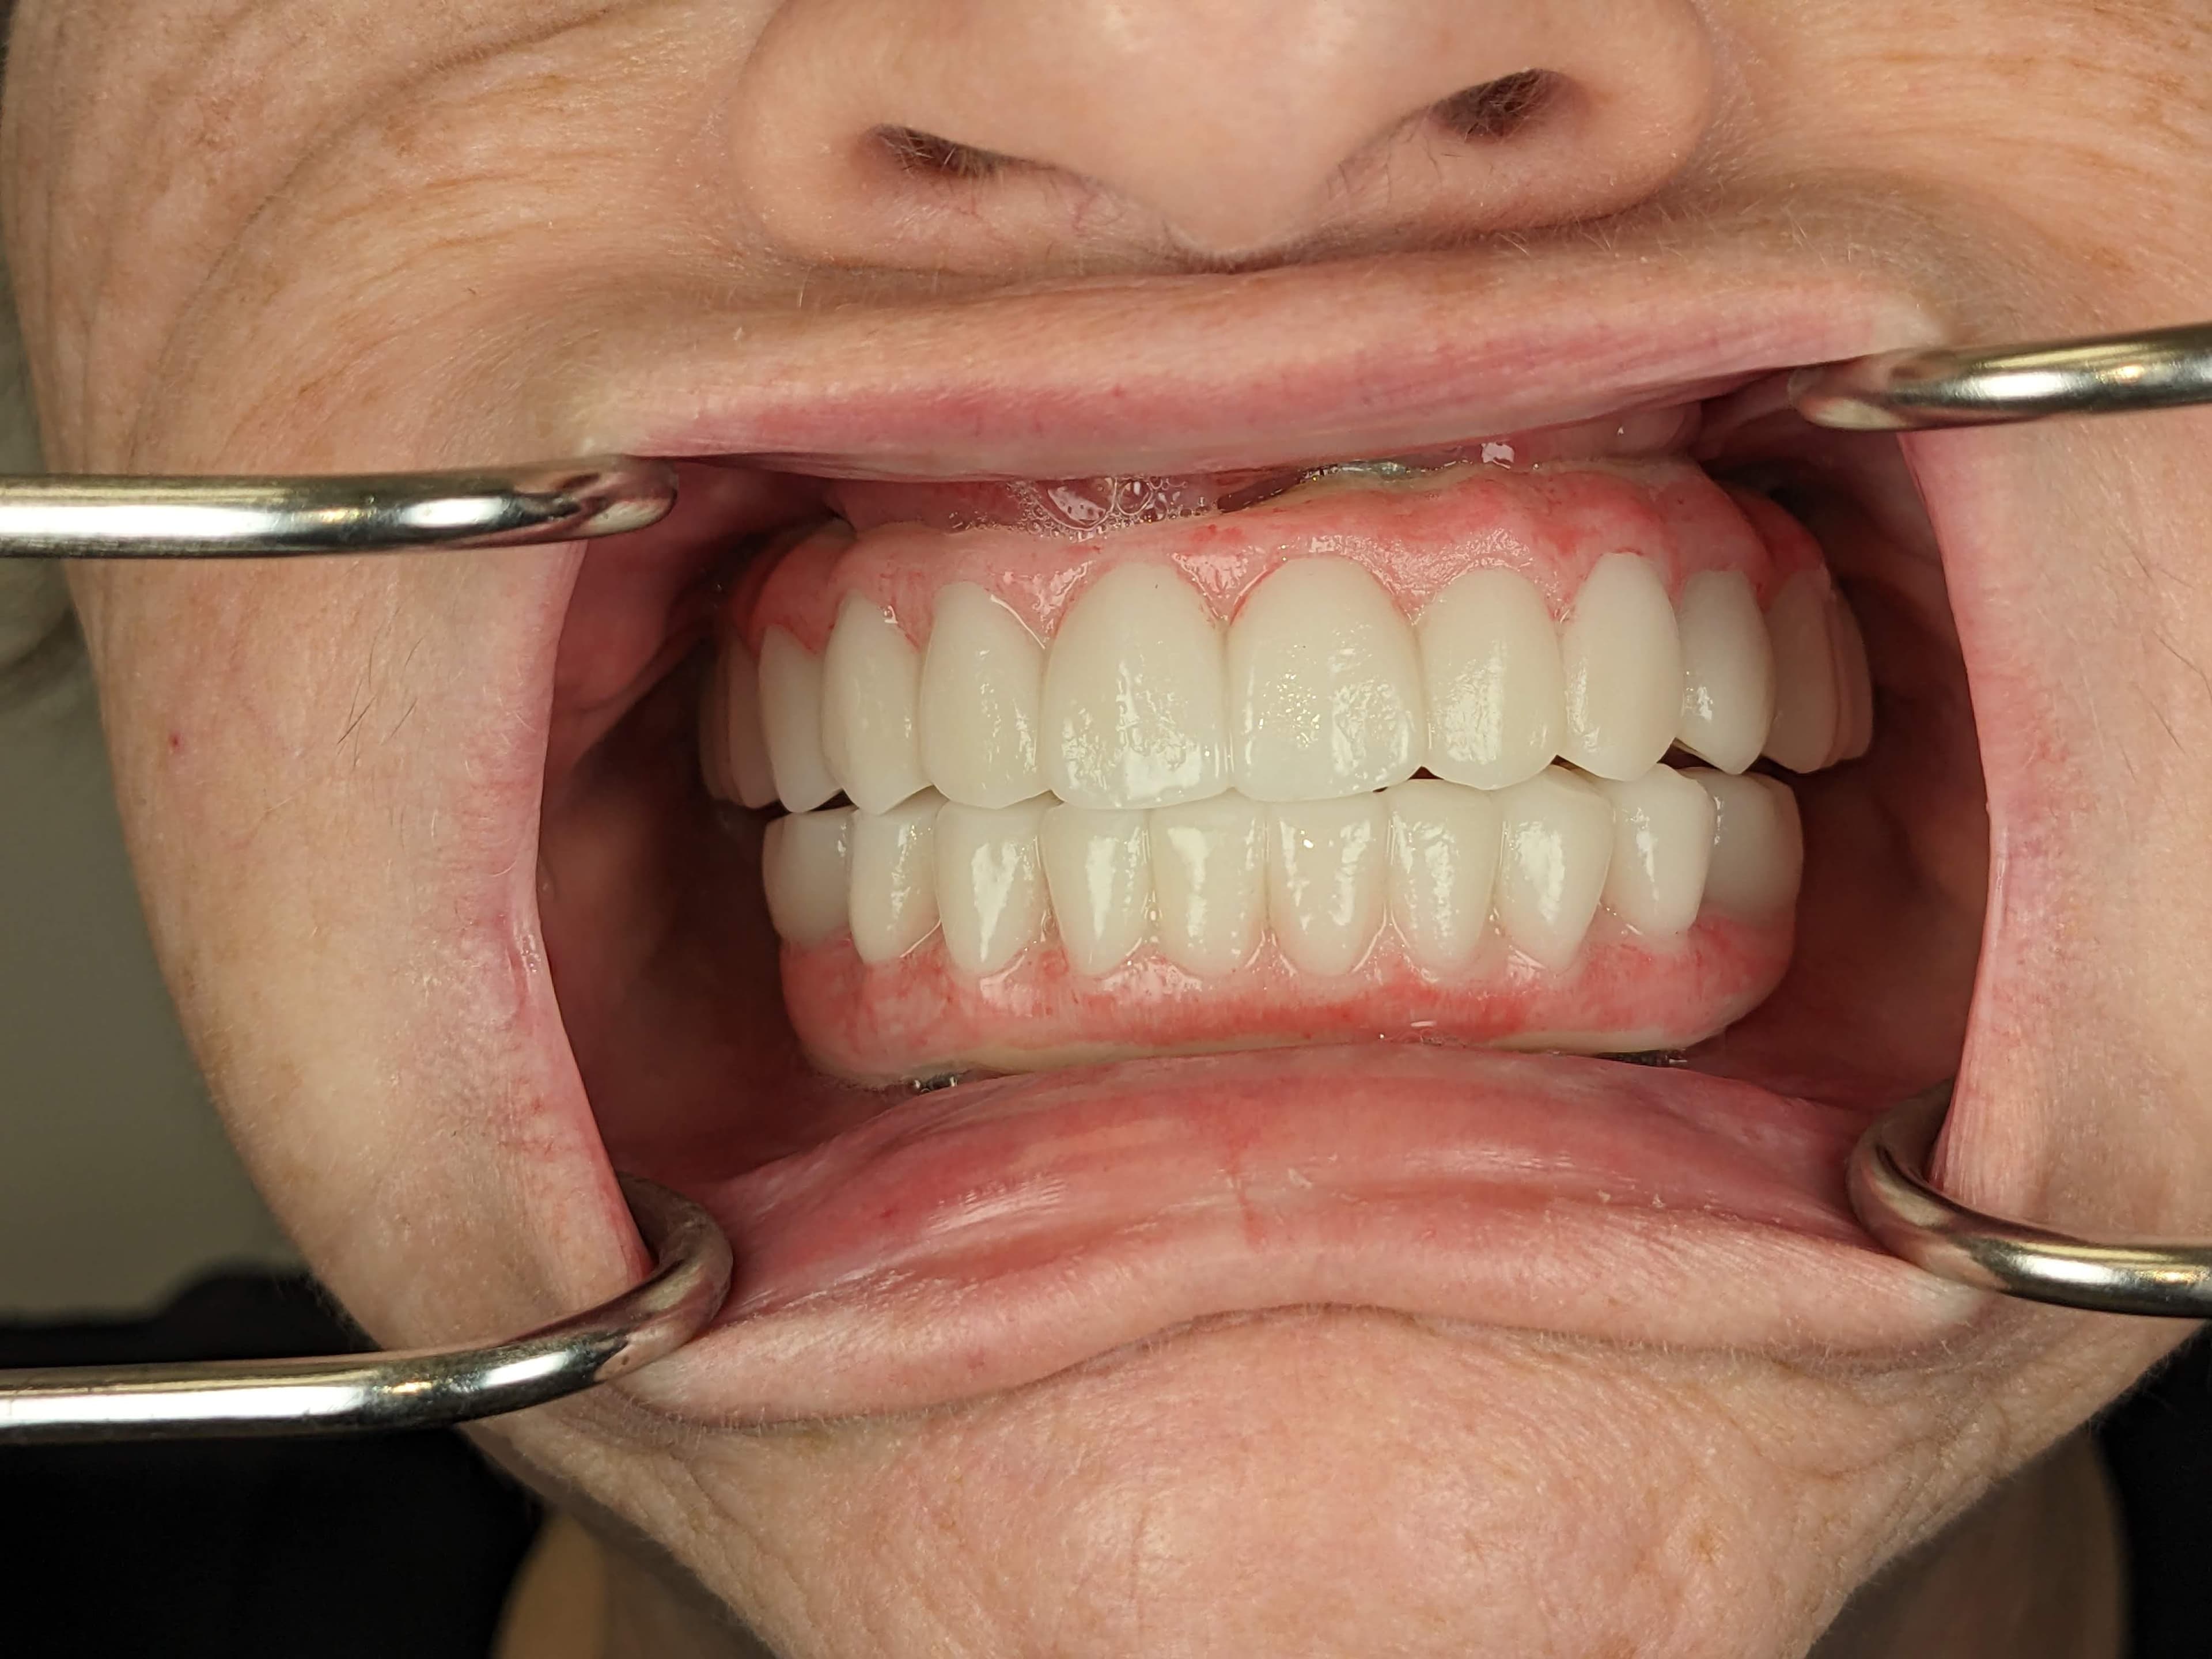
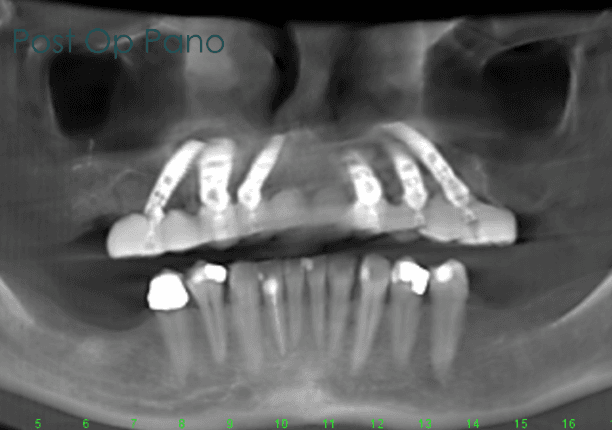
Upper arch restoration preserving natural bone anatomy with an FP1 prosthesis.
This patient had struggled with dental issues throughout her adult life. As she lost back teeth over time, bite force shifted to her anterior teeth and crowns — eventually causing them to break. For a woman who spoke with clients professionally every day, this was devastating.
Despite years of dental decay, she had retained excellent bone volume — a critical factor in treatment planning. Her pre-op smile showed minimal gum display, meaning a traditional All-on-4 (FP3) approach would have required removing 3–5mm of bone above the gumline to hide the transition. Instead, Dr. Weisenberg chose an FP1 restoration — preserving her natural bone and anatomy to deliver the esthetics and function she deserved.
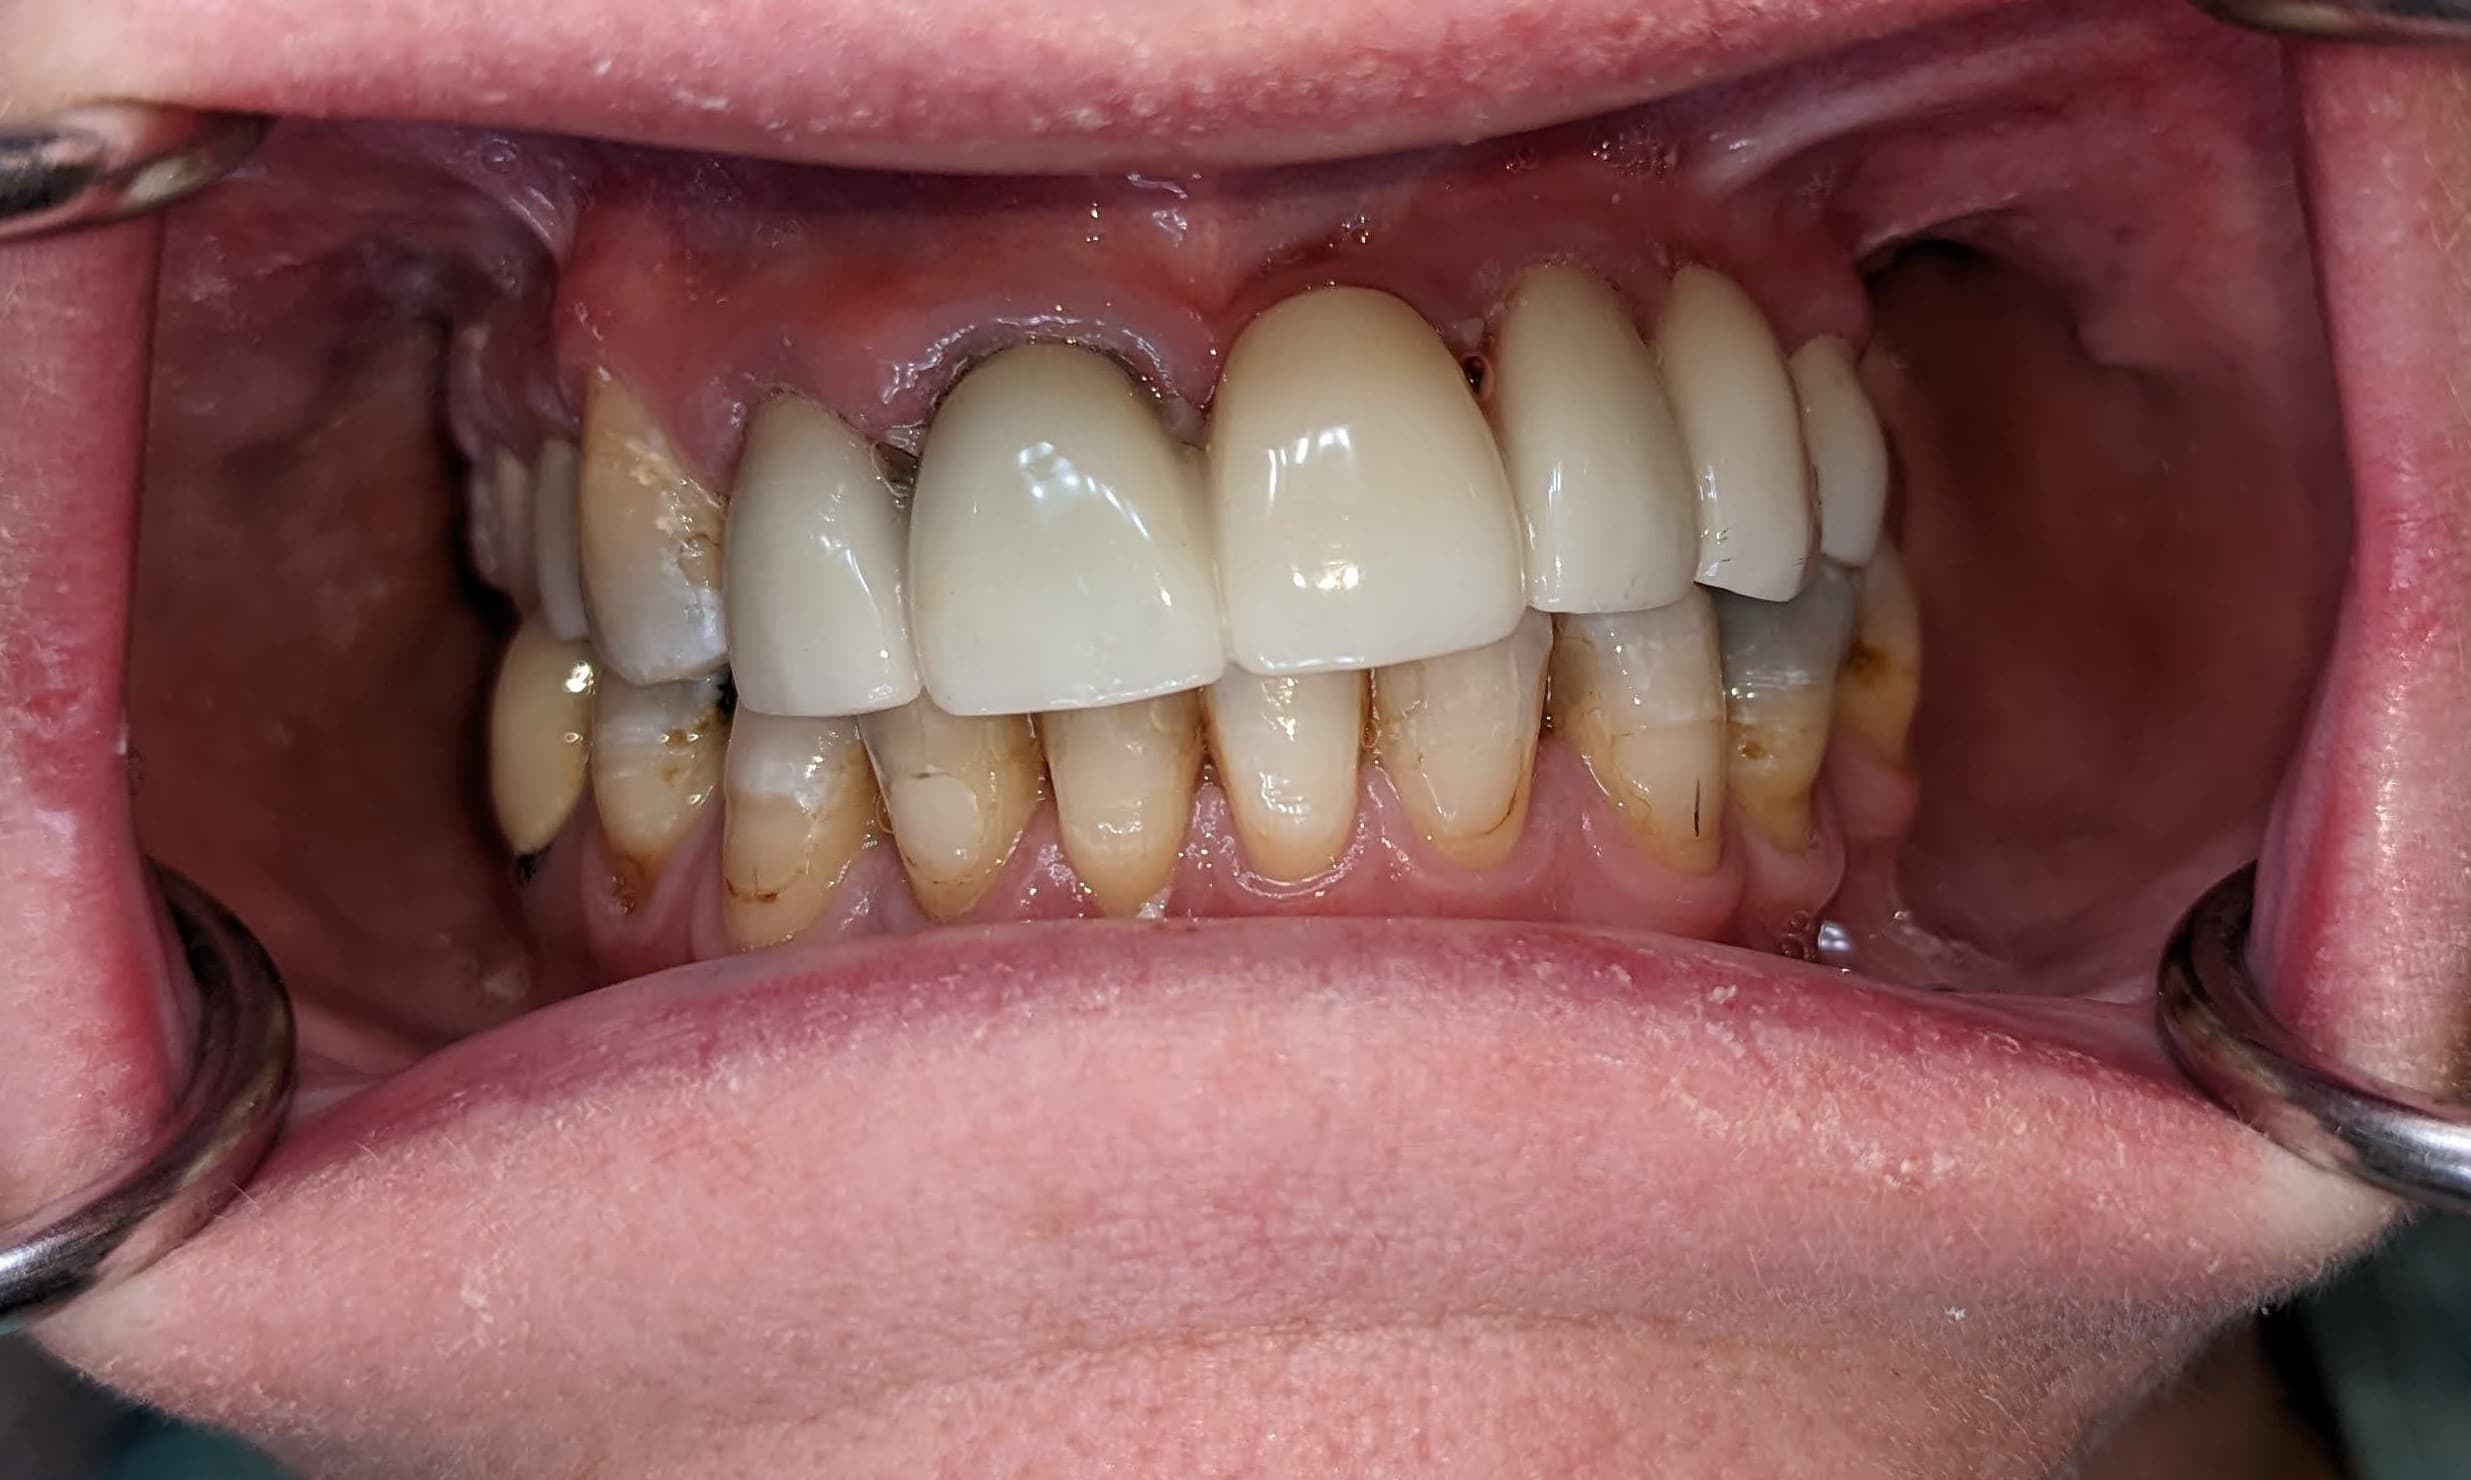 Before
 After
AfterUpper Arch FP2 Reconstruction
Upper arch reconstruction working around low sinus anatomy with an FP2 restoration.
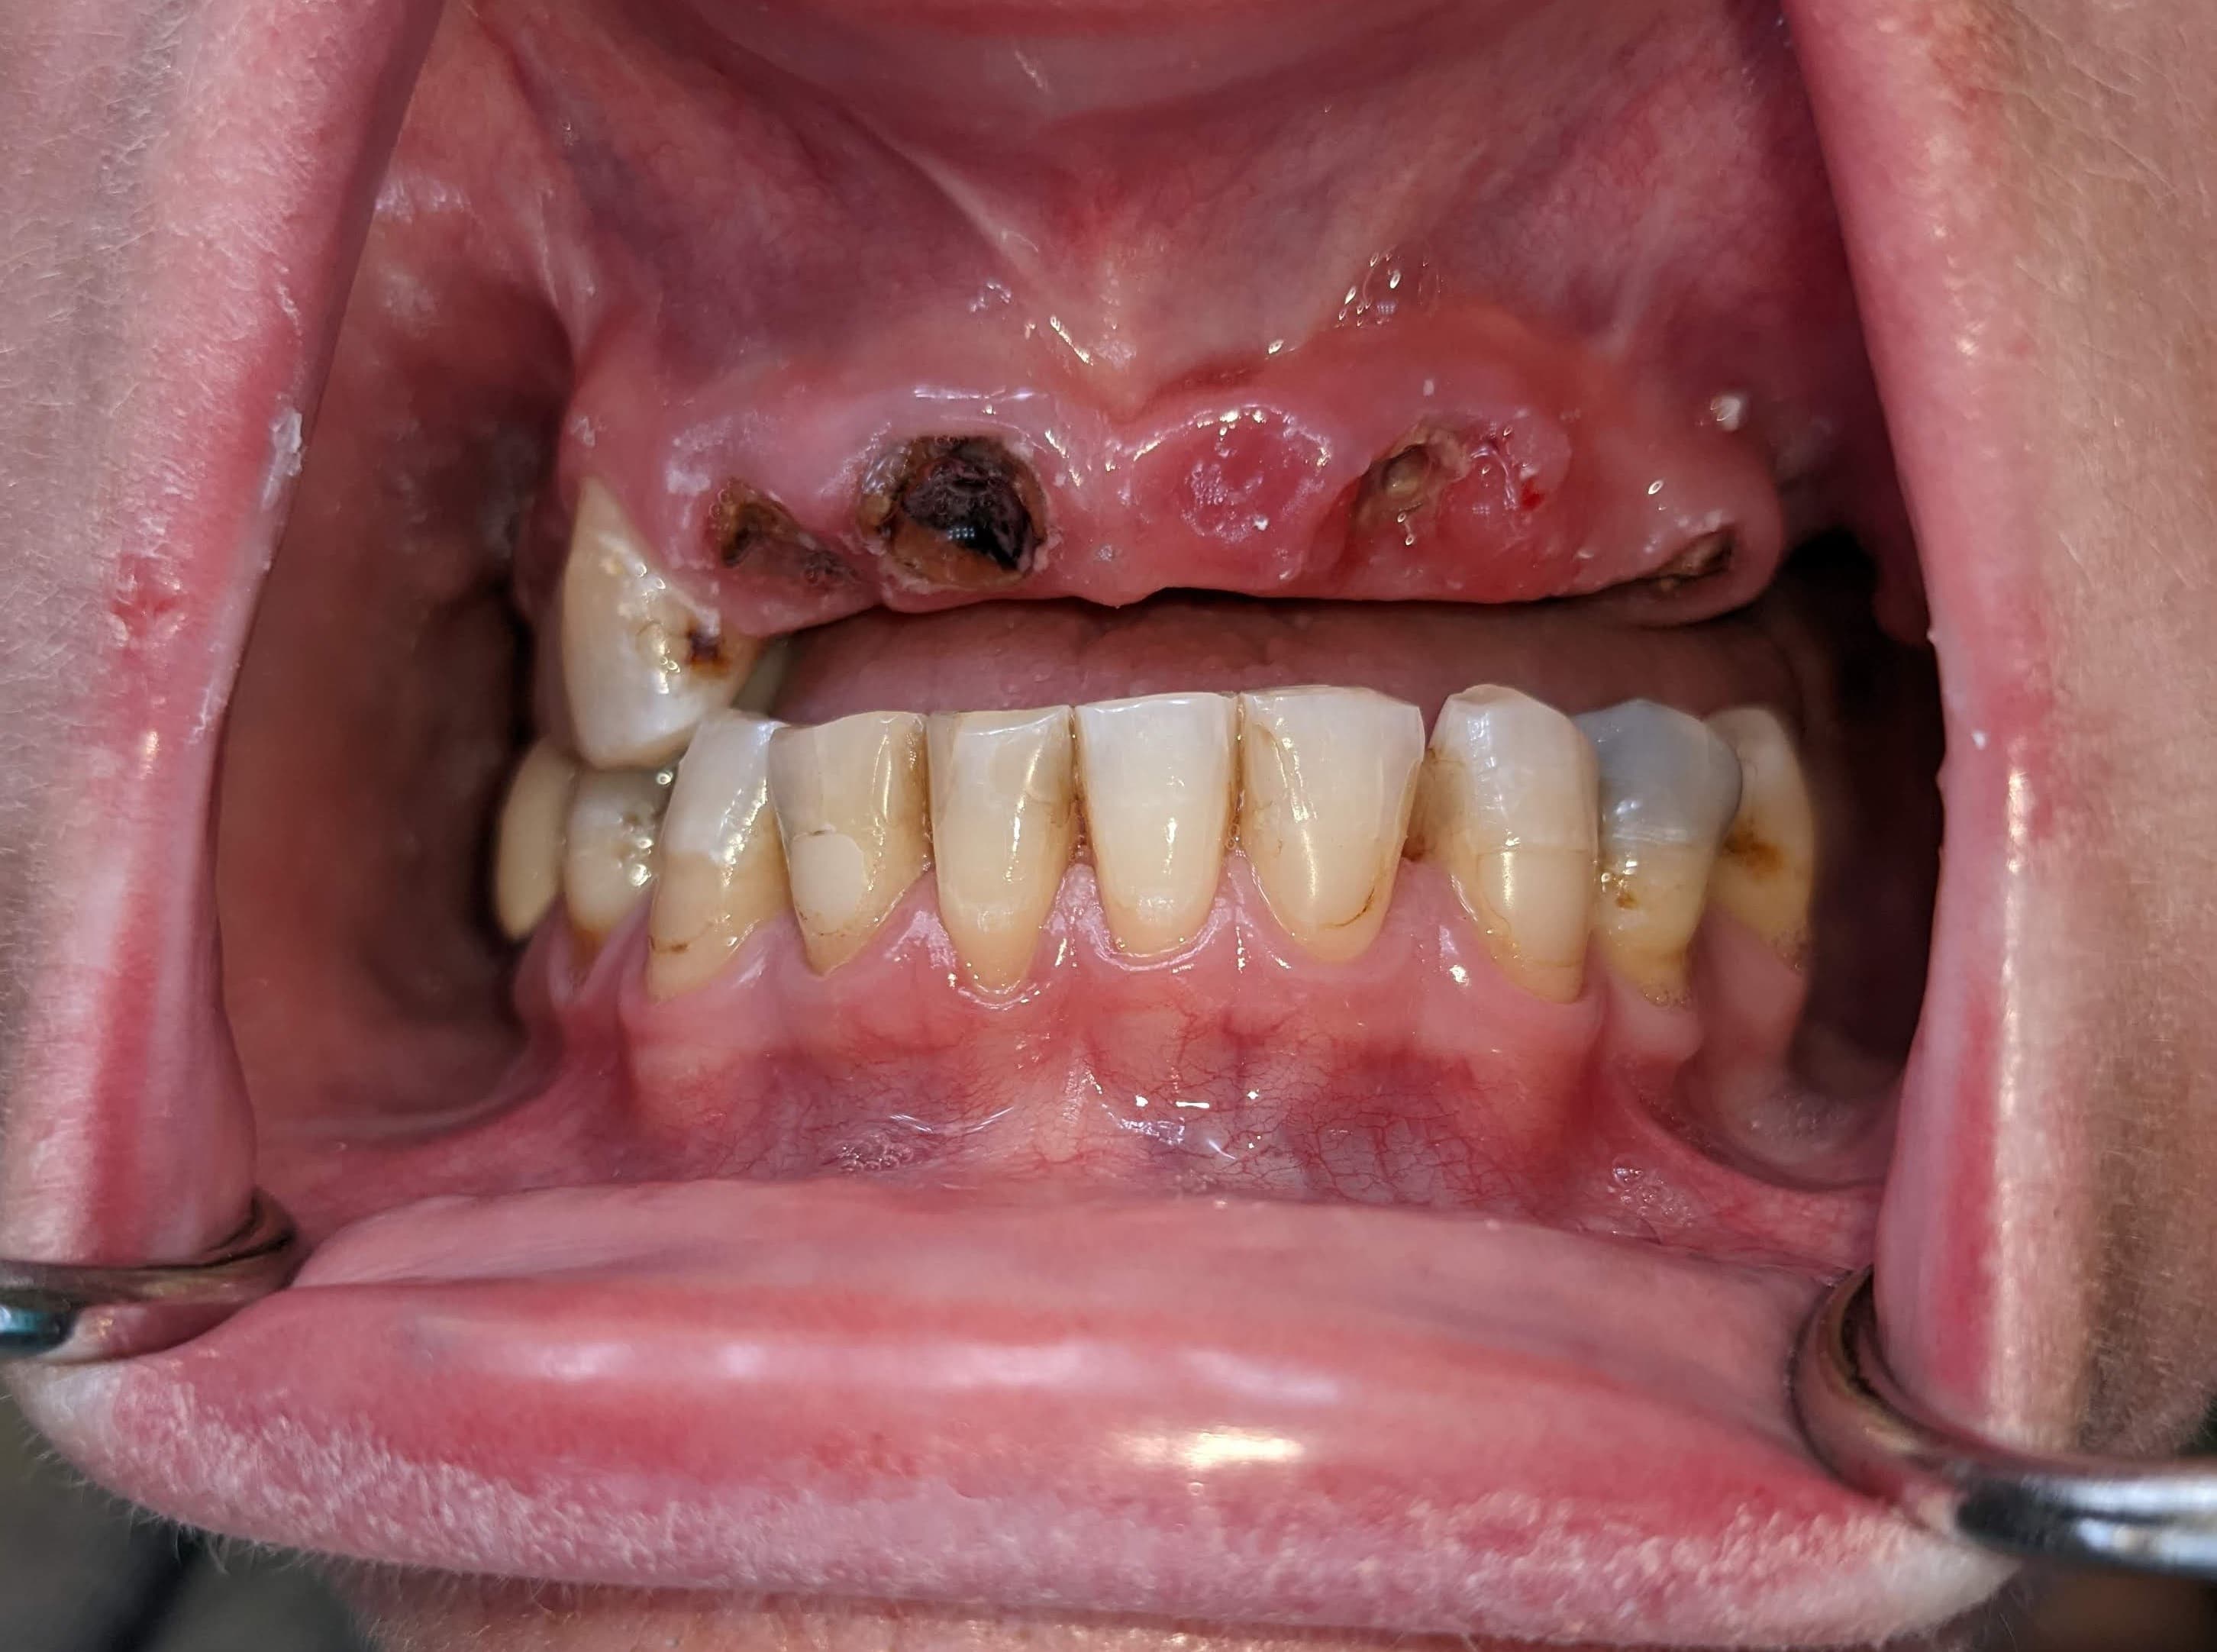
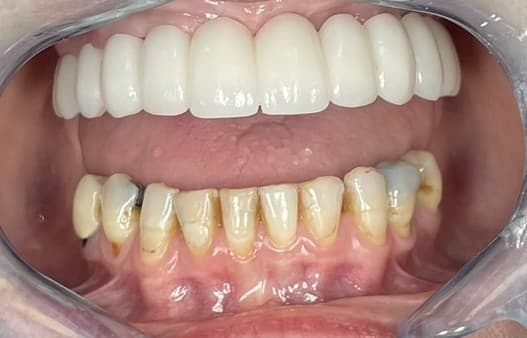
This patient's dental journey began at 18 following a sports accident that required her left front central incisor to be root canaled and crowned. Over the decades that followed, decay spread to adjacent teeth, requiring additional fillings and crowns. As she lost upper molars, bite force shifted forward onto already-compromised teeth — eventually causing her left central incisor to break off entirely. By the time she came to see Dr. Weisenberg, she was managing with a large anterior bridge she could remove herself.
While she had experienced some bone loss, a traditional All-on-4 (FP3) was not the right answer. Her sinuses sat low, and on her upper left side, the sinus had expanded as the surrounding bone was resorbed — a common consequence of molar loss. A routine bone reduction for an FP3 would have exposed that sinus, creating the kind of visible transition line that leads to the complications we see in revision cases.
Instead, Dr. Weisenberg atraumatically extracted her remaining teeth with no damage to the surrounding bone, and strategically placed implants to work around her anatomy rather than against it. The result is an FP2 restoration — a carefully considered compromise between function, esthetics, and slimness that honors her existing biology.
For a nurse who had spent years wearing a face mask at work to conceal her smile, this was life-changing.
 Before
 After
AfterFull-Arch FP3 Reconstruction
Full-arch reconstruction for a long-term denture patient, restoring facial volume and function.
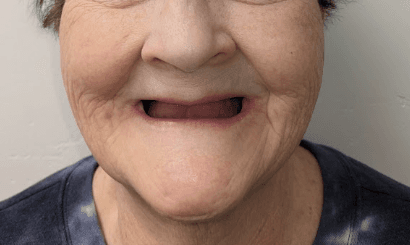
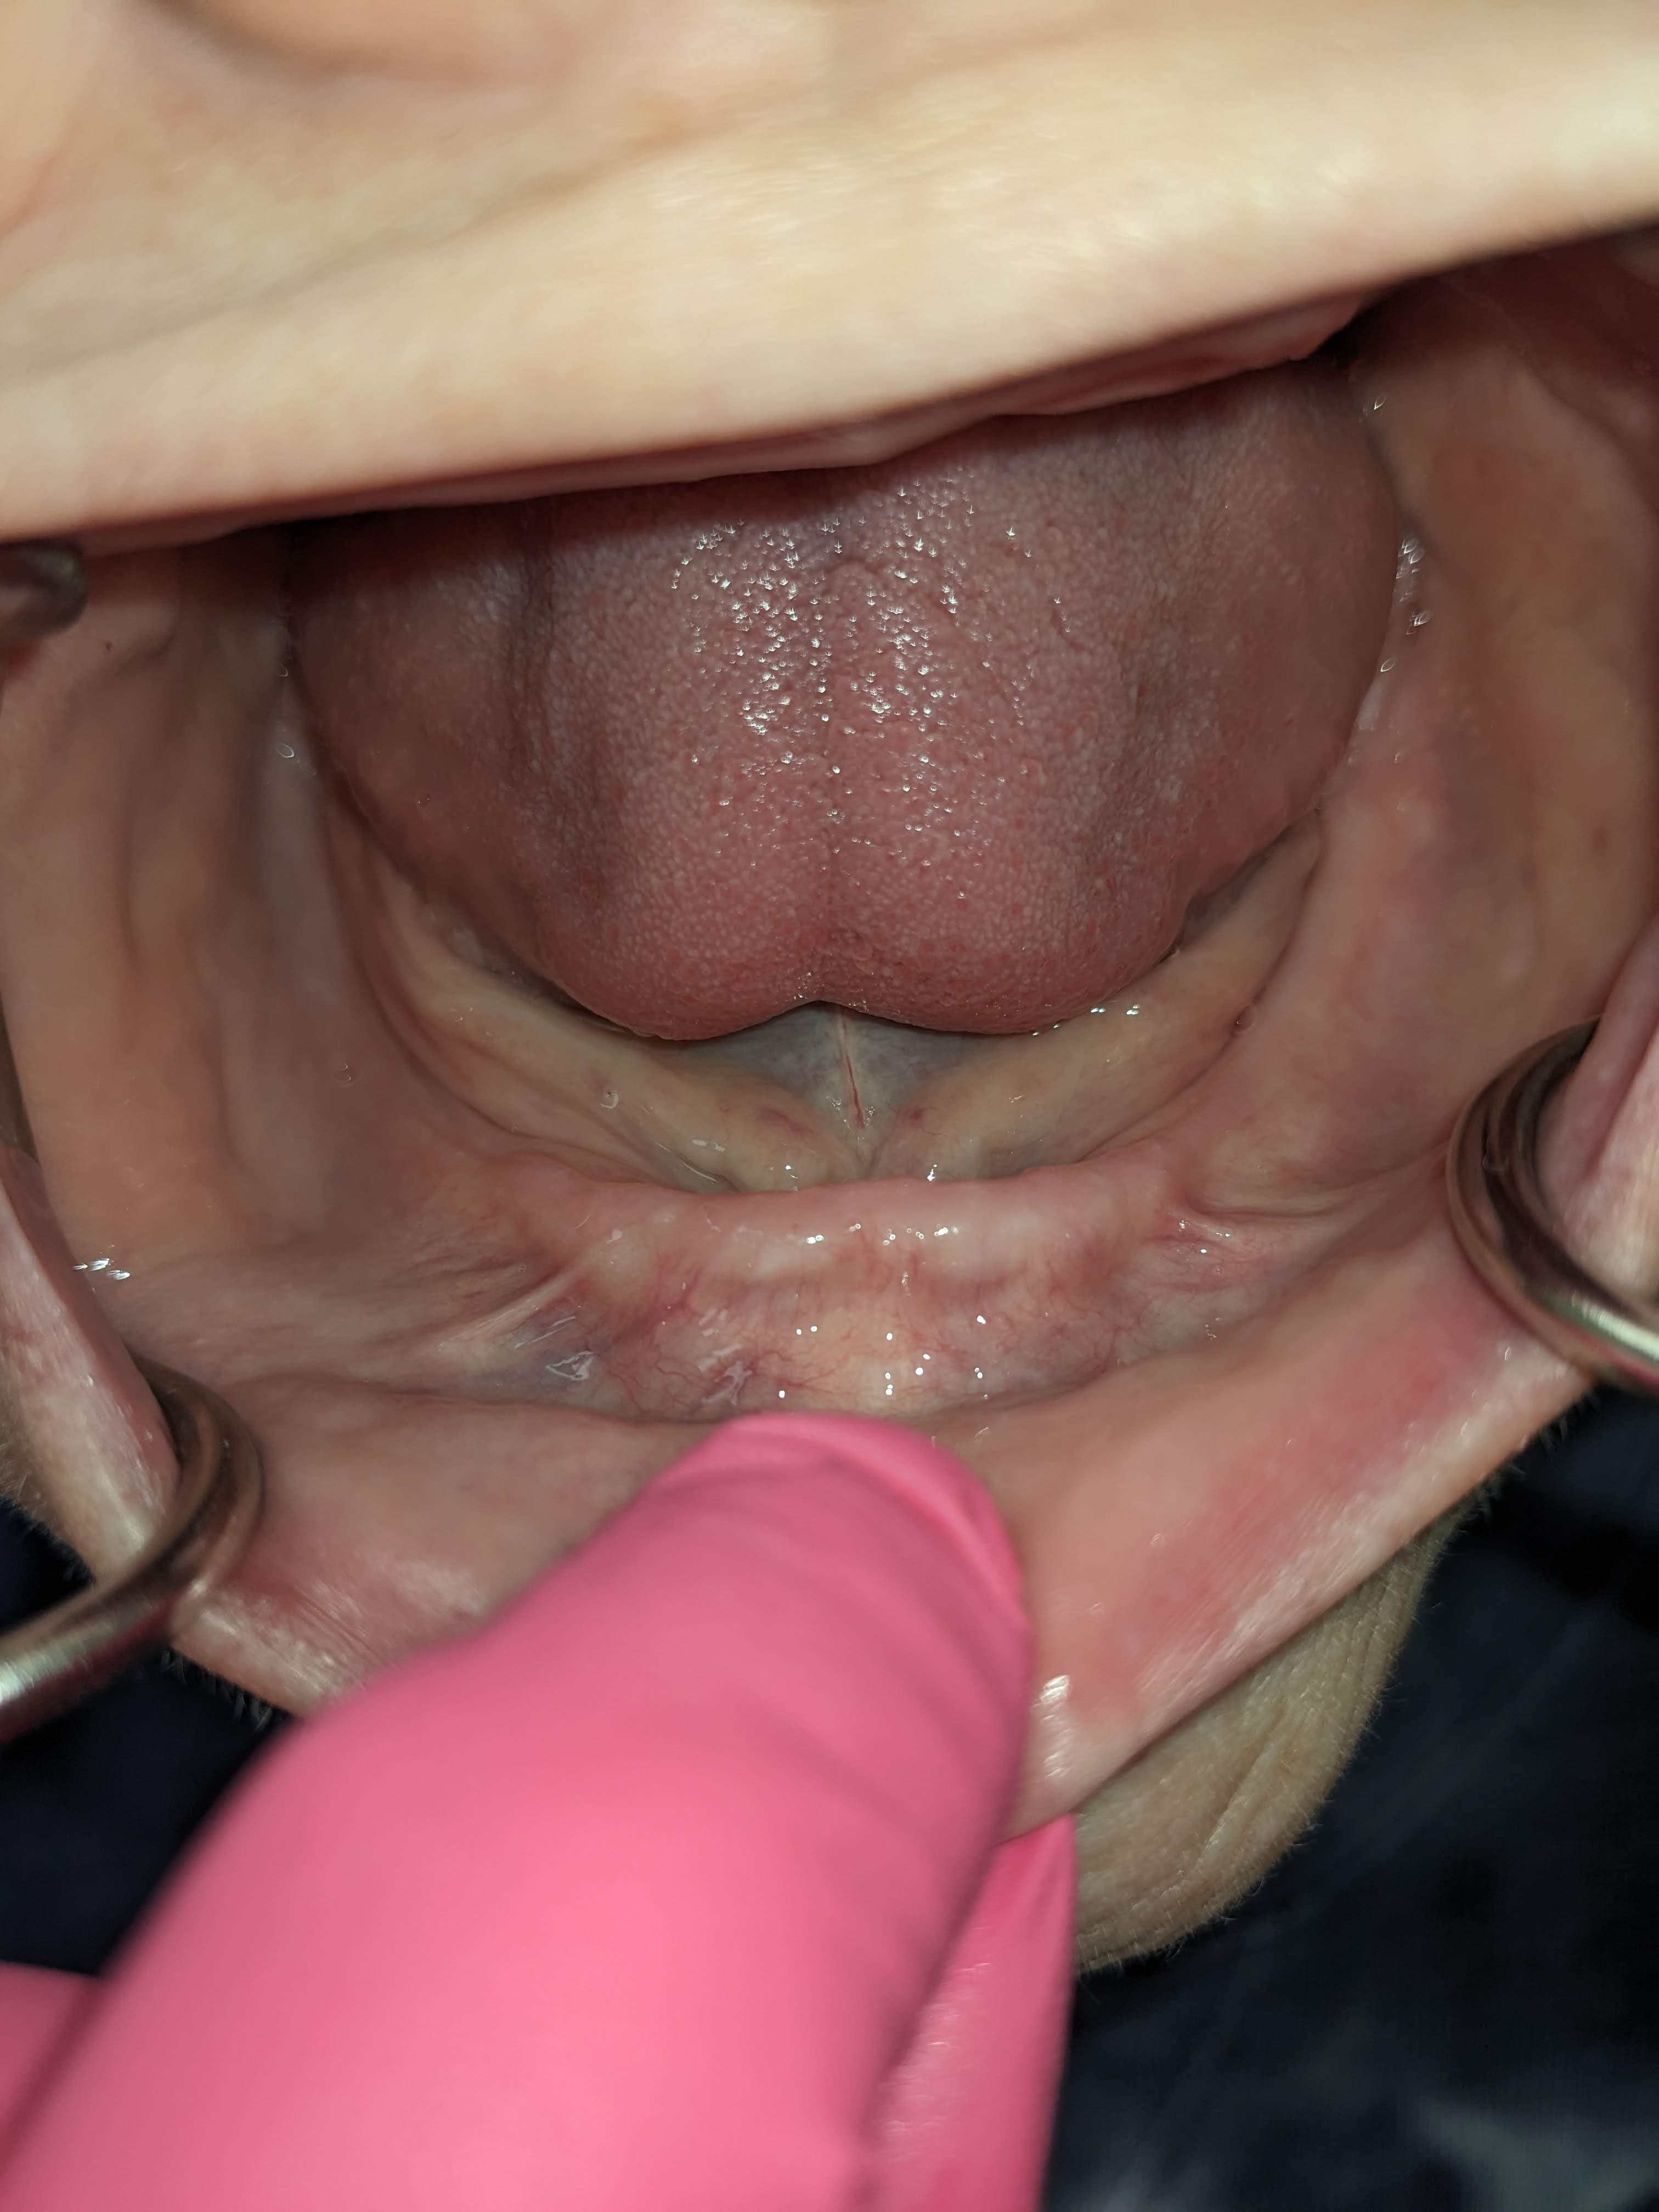
This patient had been wearing dentures for 20 to 30 years — and was on her fifth set when she came to see Dr. Weisenberg. The upper denture's palate had extended so far back it was triggering her gag reflex, but when her previous dentist shortened it to help, it lost its suction entirely. Years of bone loss had made her lower prosthetics nearly impossible to keep in place, requiring denture adhesive applied multiple times a day. The toll was visible: she had developed the collapsed facial profile and loss of lip support that comes from years without adequate bone and tooth structure.
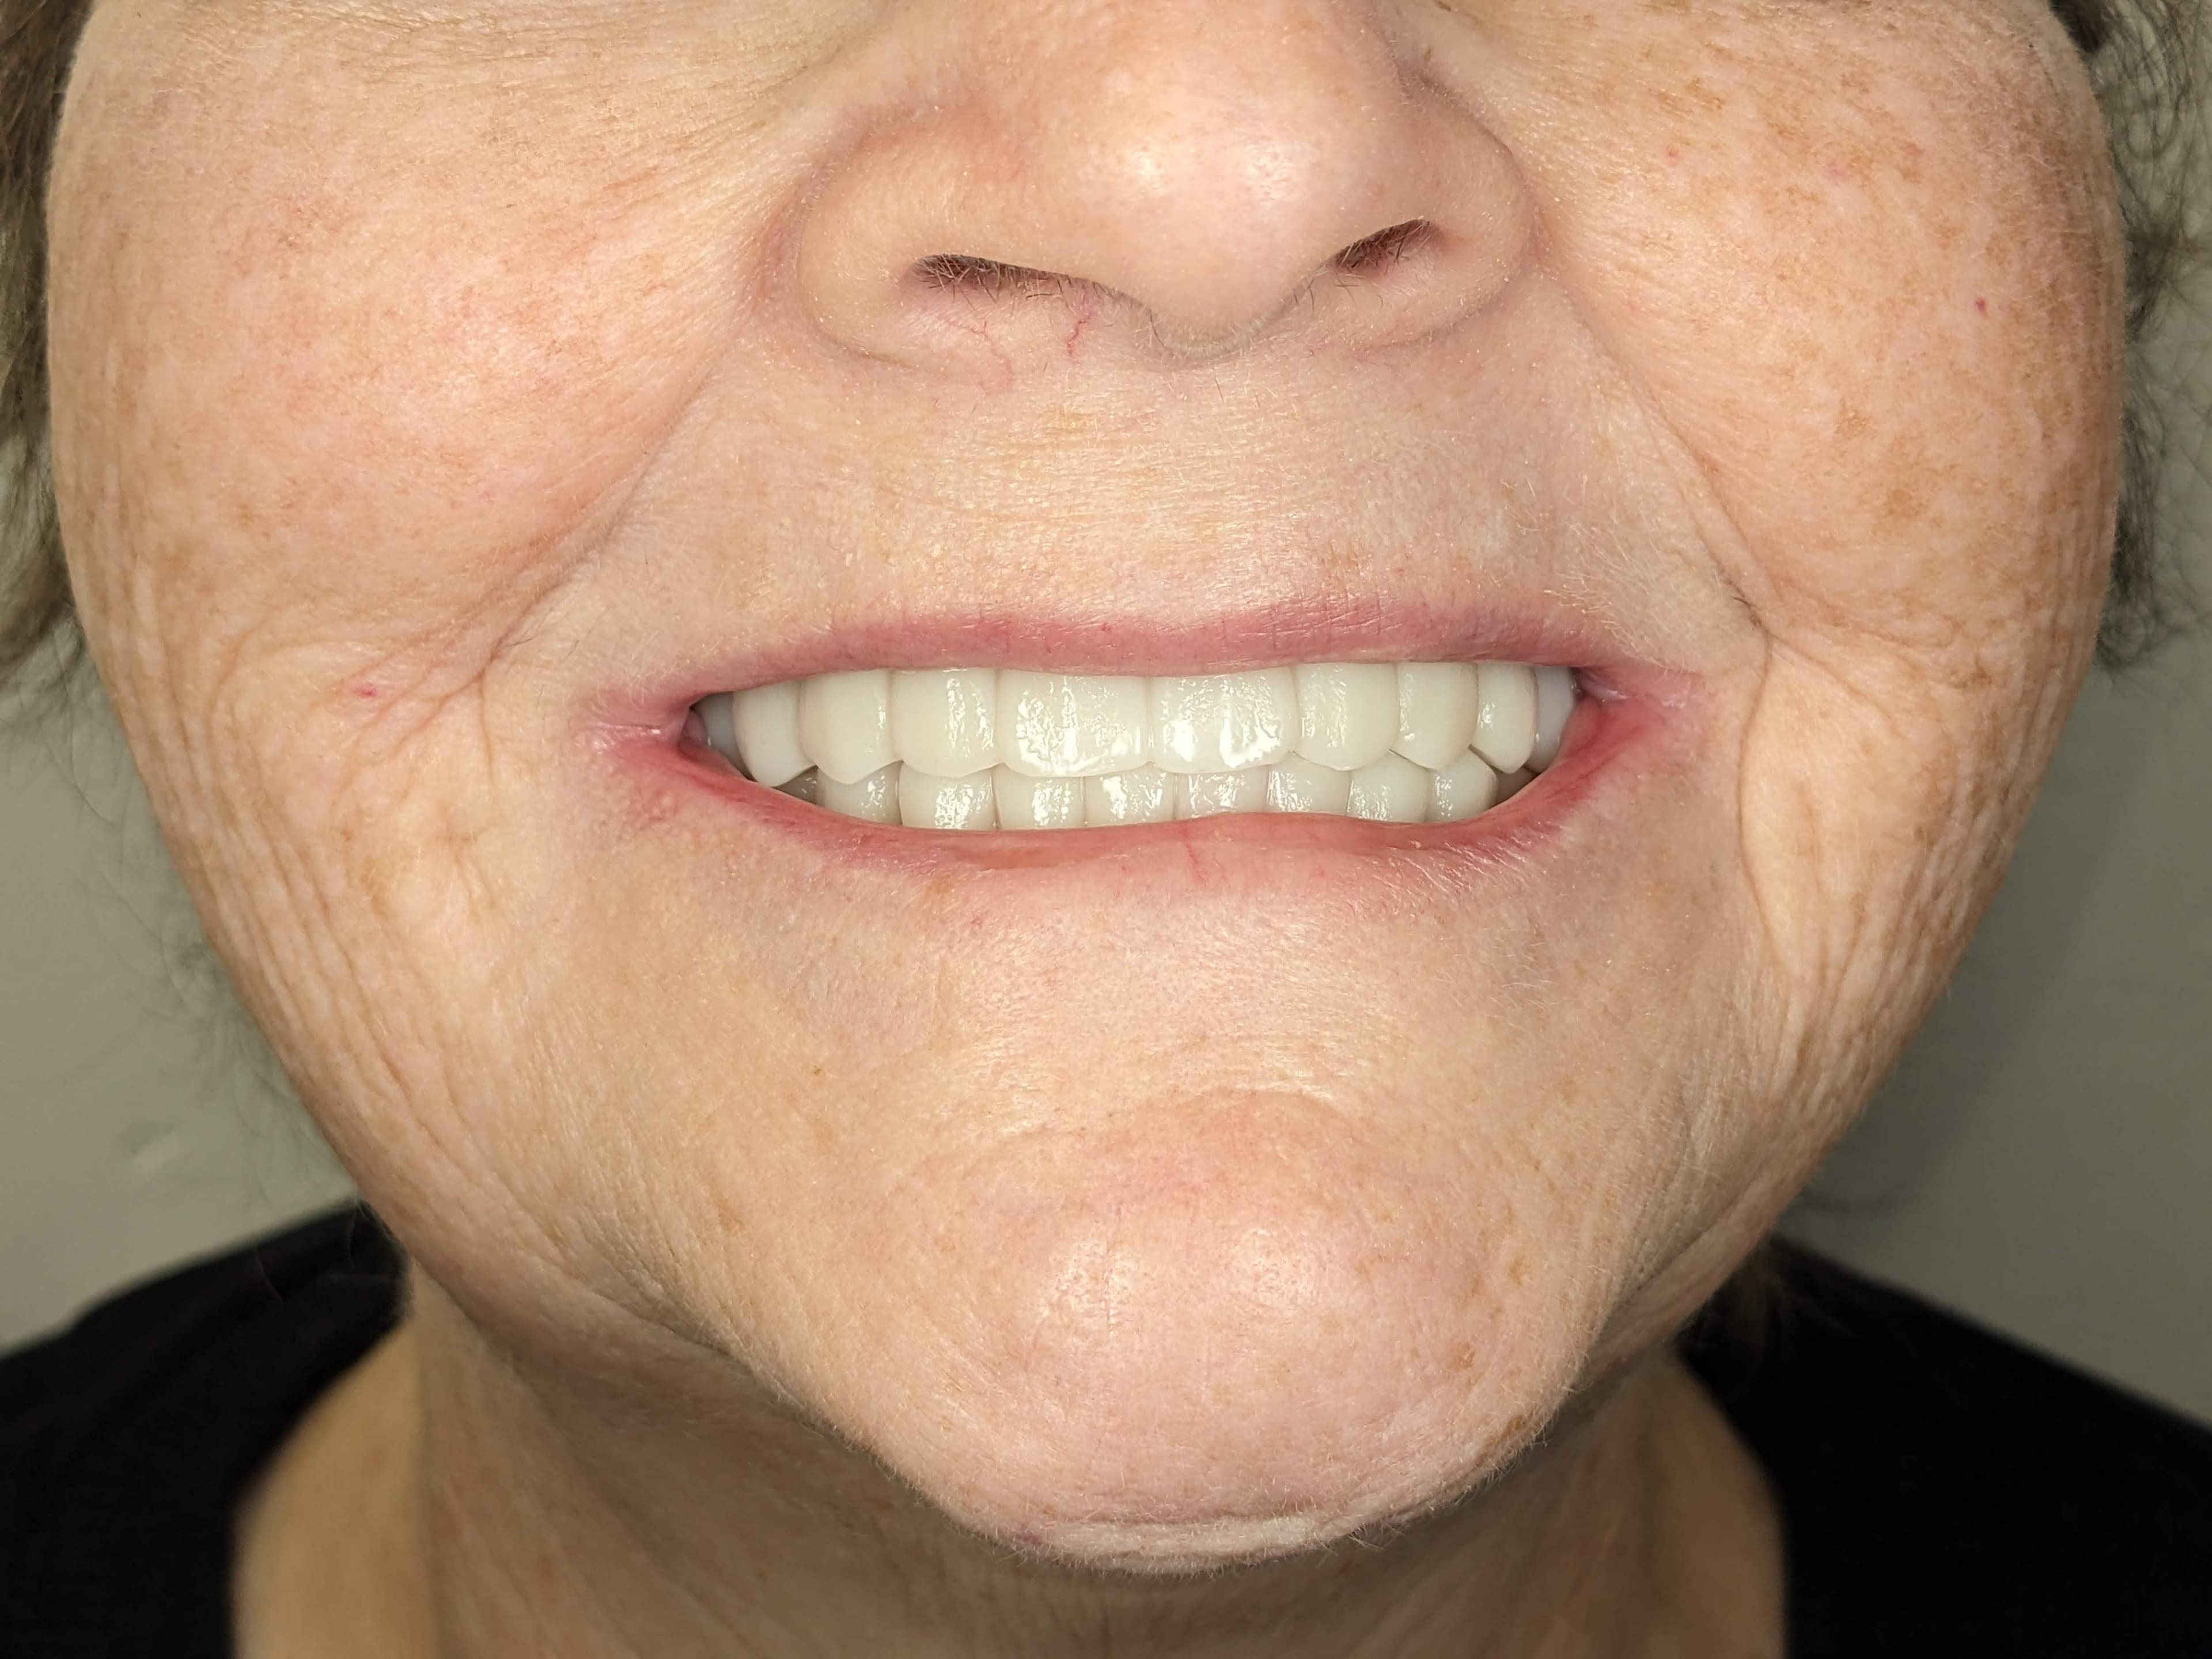
Given the extent of her bone loss, she was an ideal candidate for an FP3 reconstruction — and uniquely, no bone reduction was needed at all. The FP3 prosthetic provided the vertical and horizontal support her face had been missing for decades, restoring both function and esthetics in a single procedure.
The change in her quality of life was profound. As a retired librarian, she had quietly stopped going out for meals — removing her lower dentures to eat had become a source of too much anxiety and embarrassment. After her reconstruction, she could eat comfortably with others without fear. Her prosthetic supported her lip the way natural teeth once had. She said it took ten years off her face.
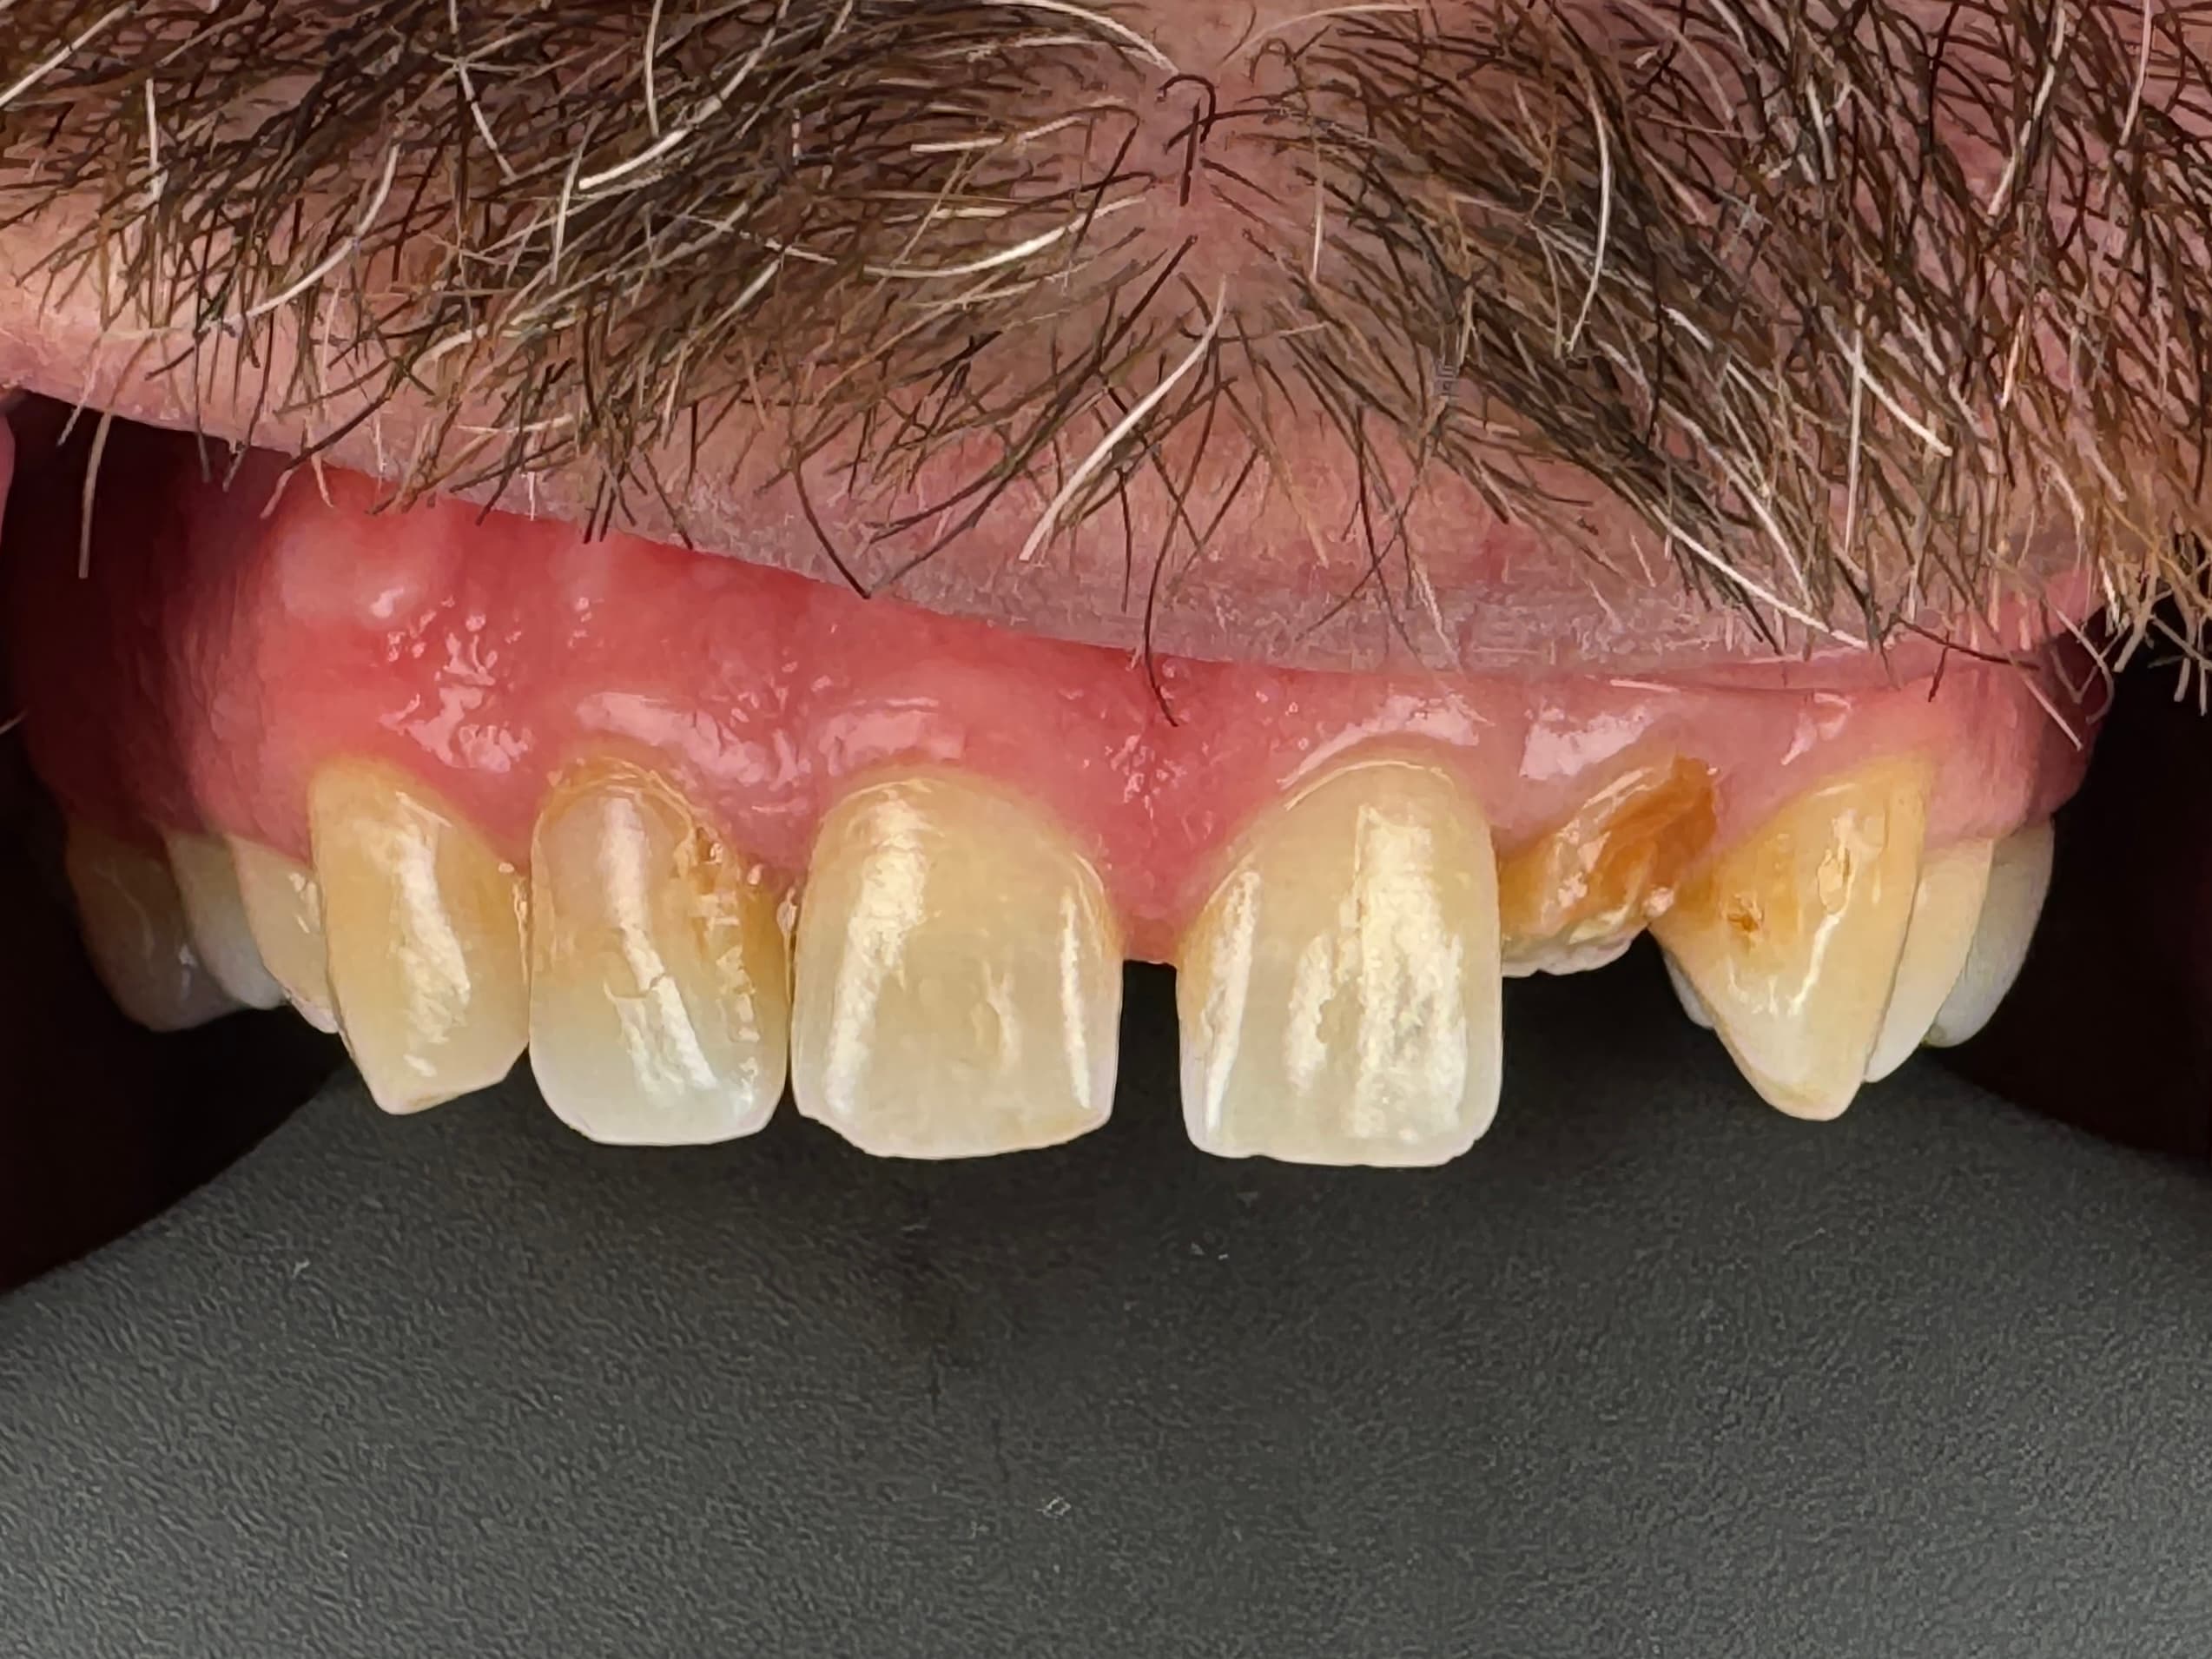 Before
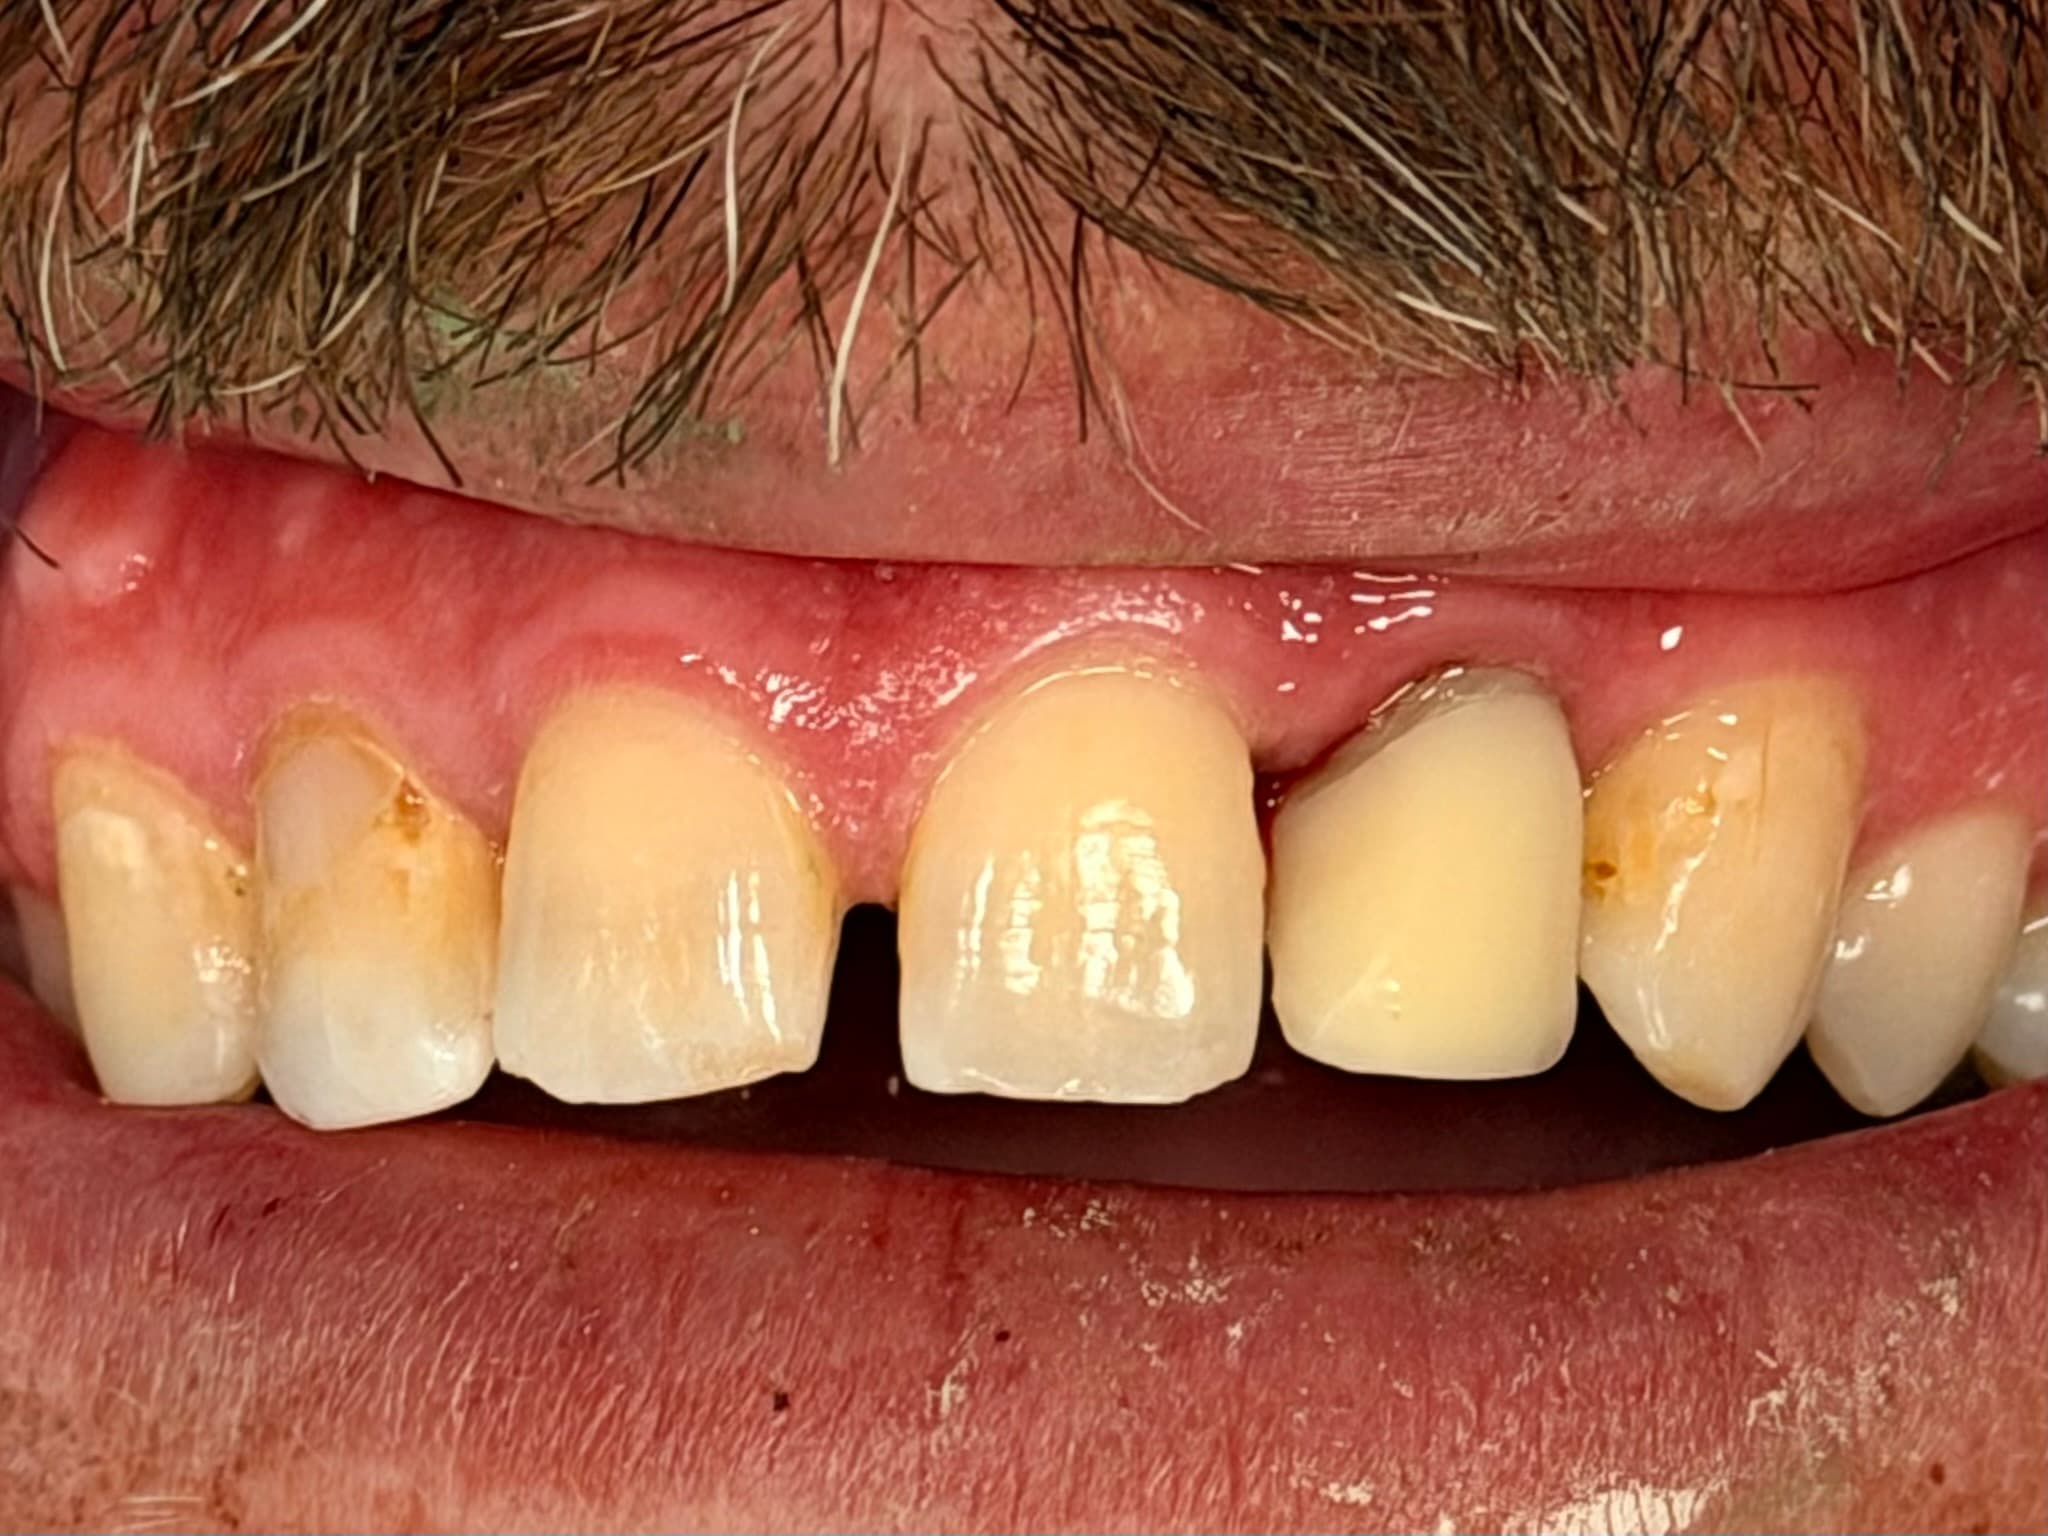 After
AfterSingle Implant — Socket Shield Technique
Lateral incisor replaced same-day using a socket shield technique and digitally guided placement.
This patient came to Dr. Weisenberg with a lateral incisor that had broken off at the gumline — not enough tooth structure remaining for a crown, and an important event on the calendar he absolutely did not want to attend with a missing front tooth. He had already sought out implant consultations elsewhere and received discouraging news: extremely thin bone at the site, a large void anticipated after extraction, and a nine-month timeline before a final crown could be placed. The proposed solution in the interim was a flipper partial denture — which he discovered during the impression appointment that his gag reflex simply would not tolerate.
He came to Dr. Weisenberg looking for another option. He found one.
While Dr. Weisenberg agreed the tooth needed to come out, the situation was a strong candidate for a socket shield procedure combined with immediate implant placement and a same-day temporary crown. Rather than fully extracting the tooth and root — which would have left a significant hole in the front wall of bone — a small portion of the root structure on the facial side was intentionally preserved. That fragment calcifies over time, effectively becoming bone and eliminating the need for the extensive grafting he had been told was unavoidable.
Working in a narrow anterior site with little margin for error, Dr. Weisenberg used a digitally planned surgical guide to place the implant with precision. With confirmed bone density and ideal implant positioning, there was sufficient stability to place an immediate temporary crown the same day — slightly shorter than the adjacent teeth to keep it out of the bite during healing.
He went to his event with a full smile. No removable prosthetics. No nine-month wait.
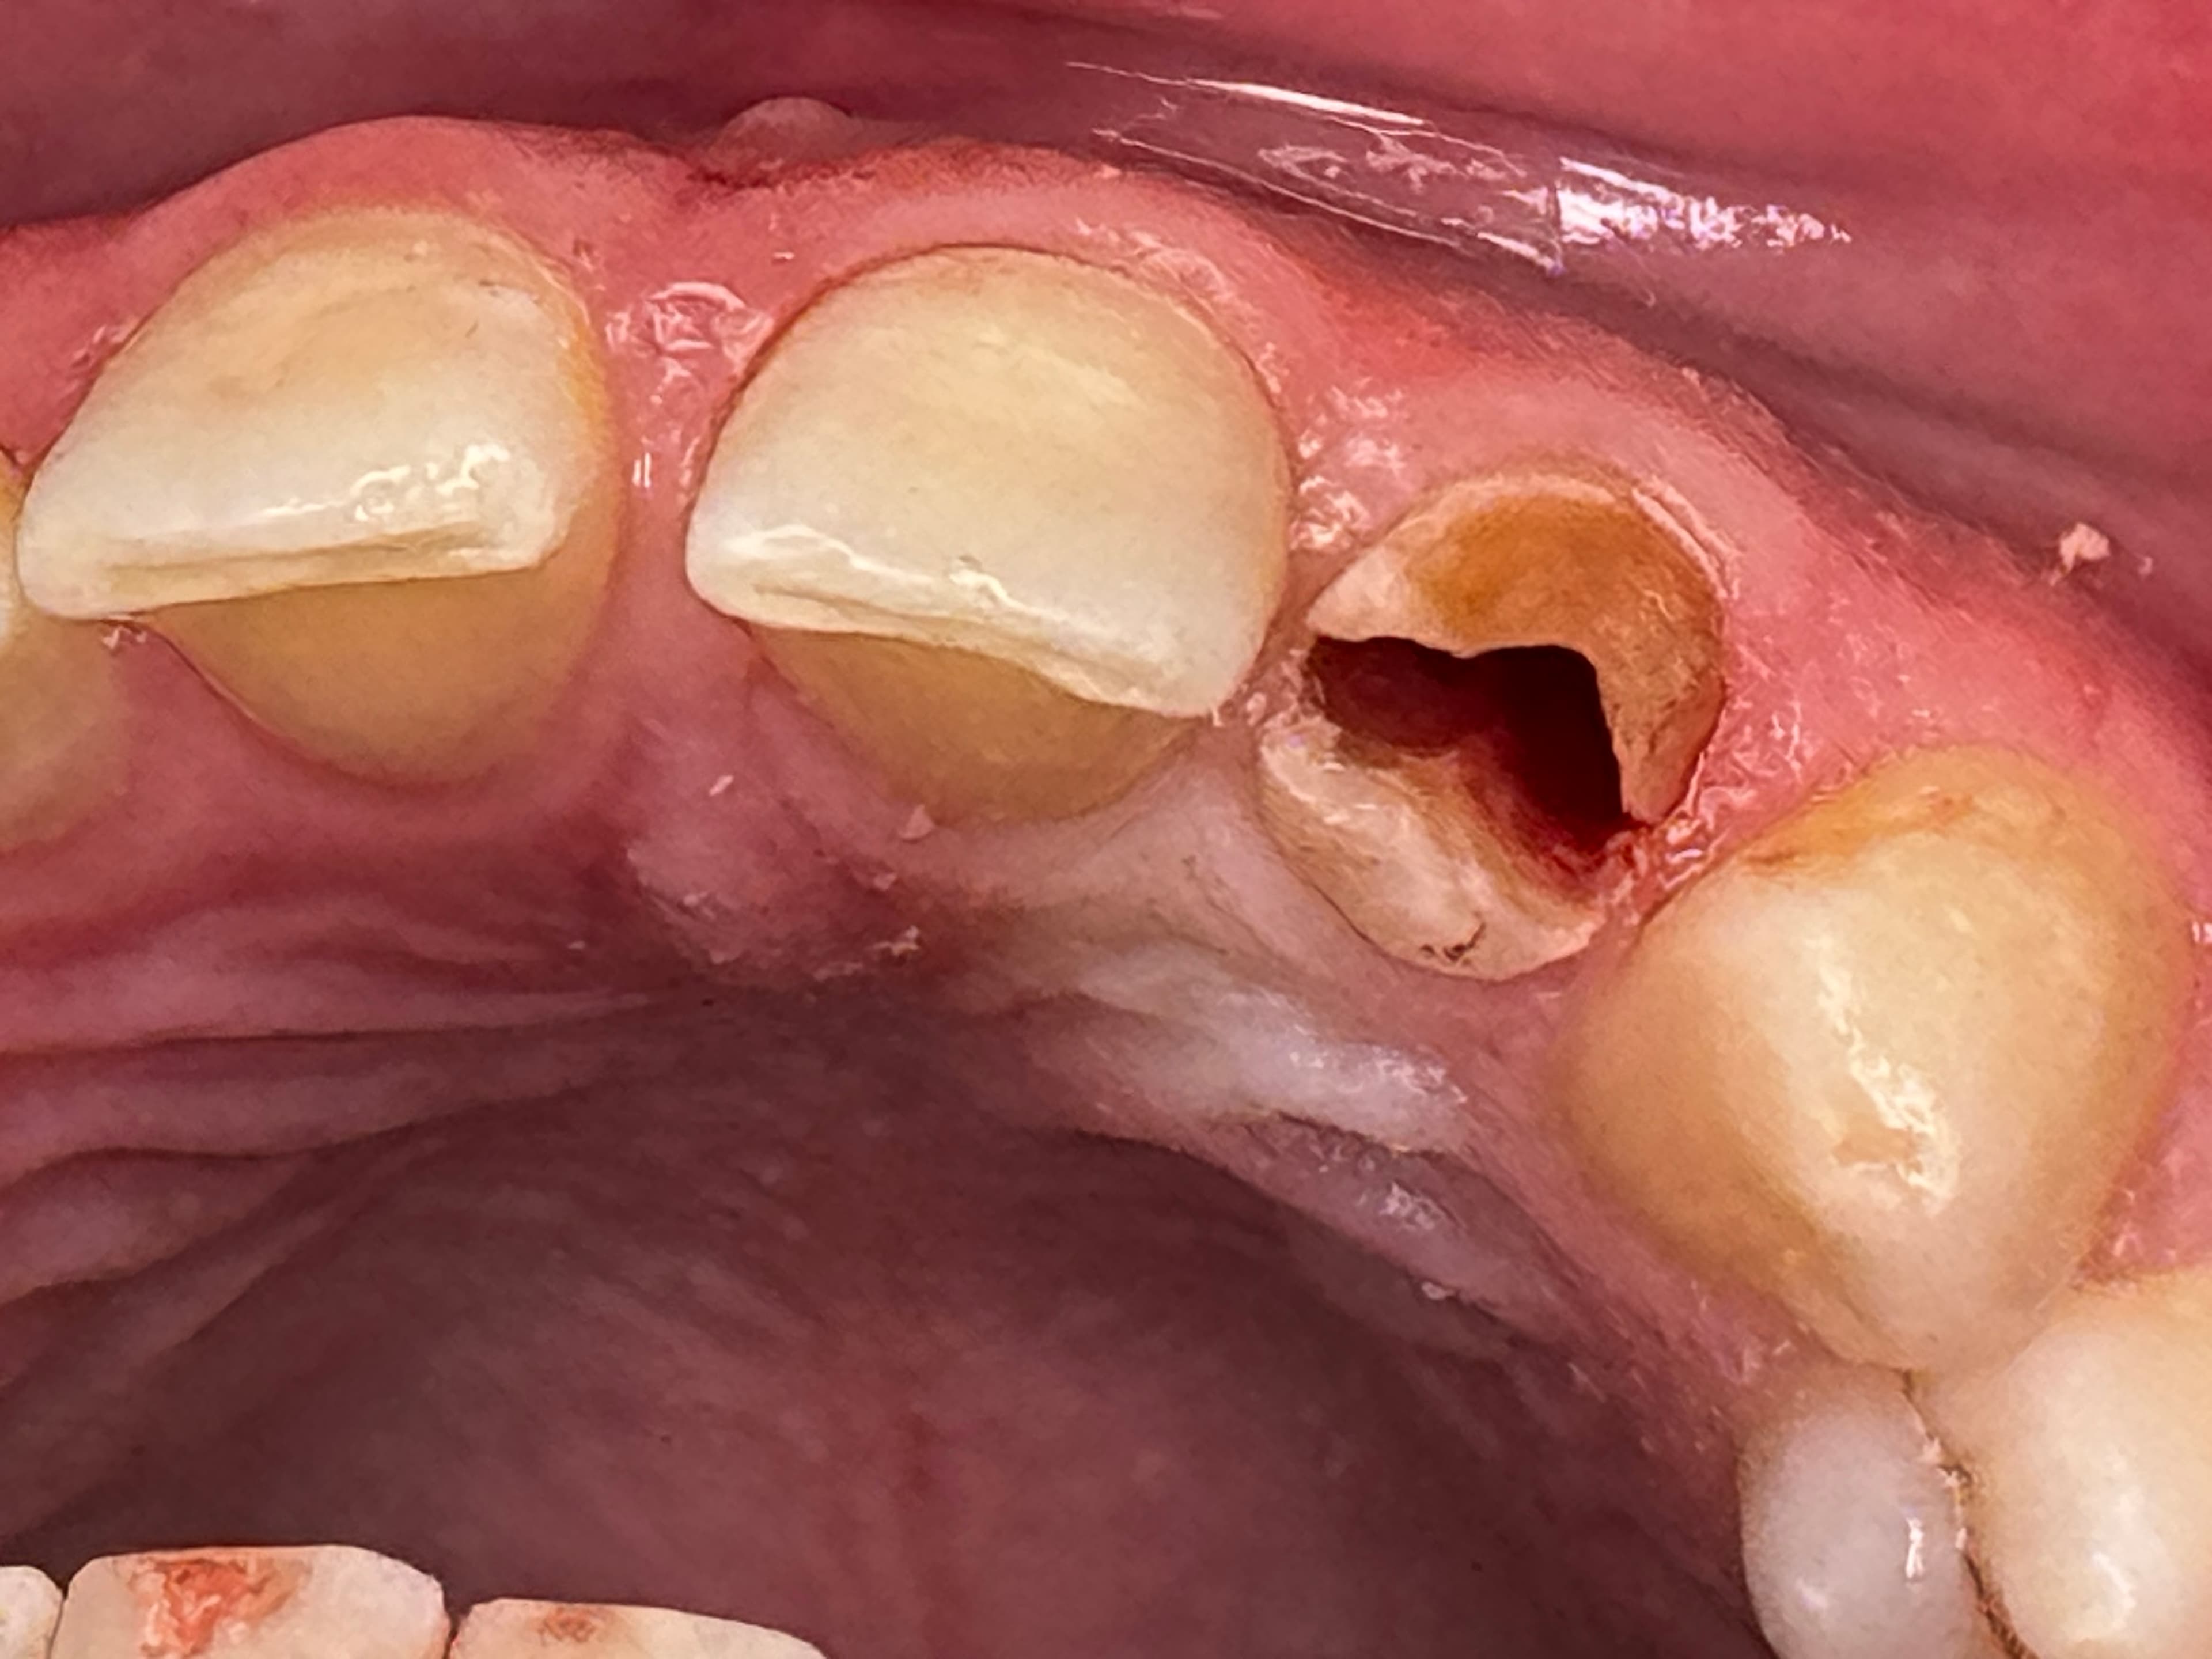
Pre-Treatment: Lower Anterior
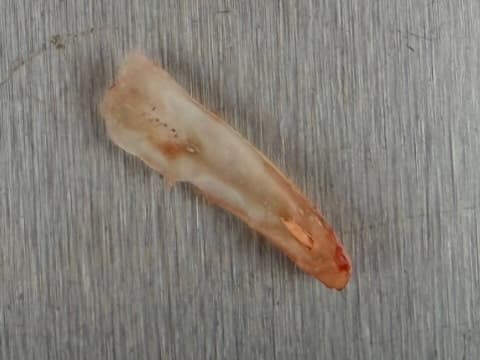
Removing the Back Portion of the Root
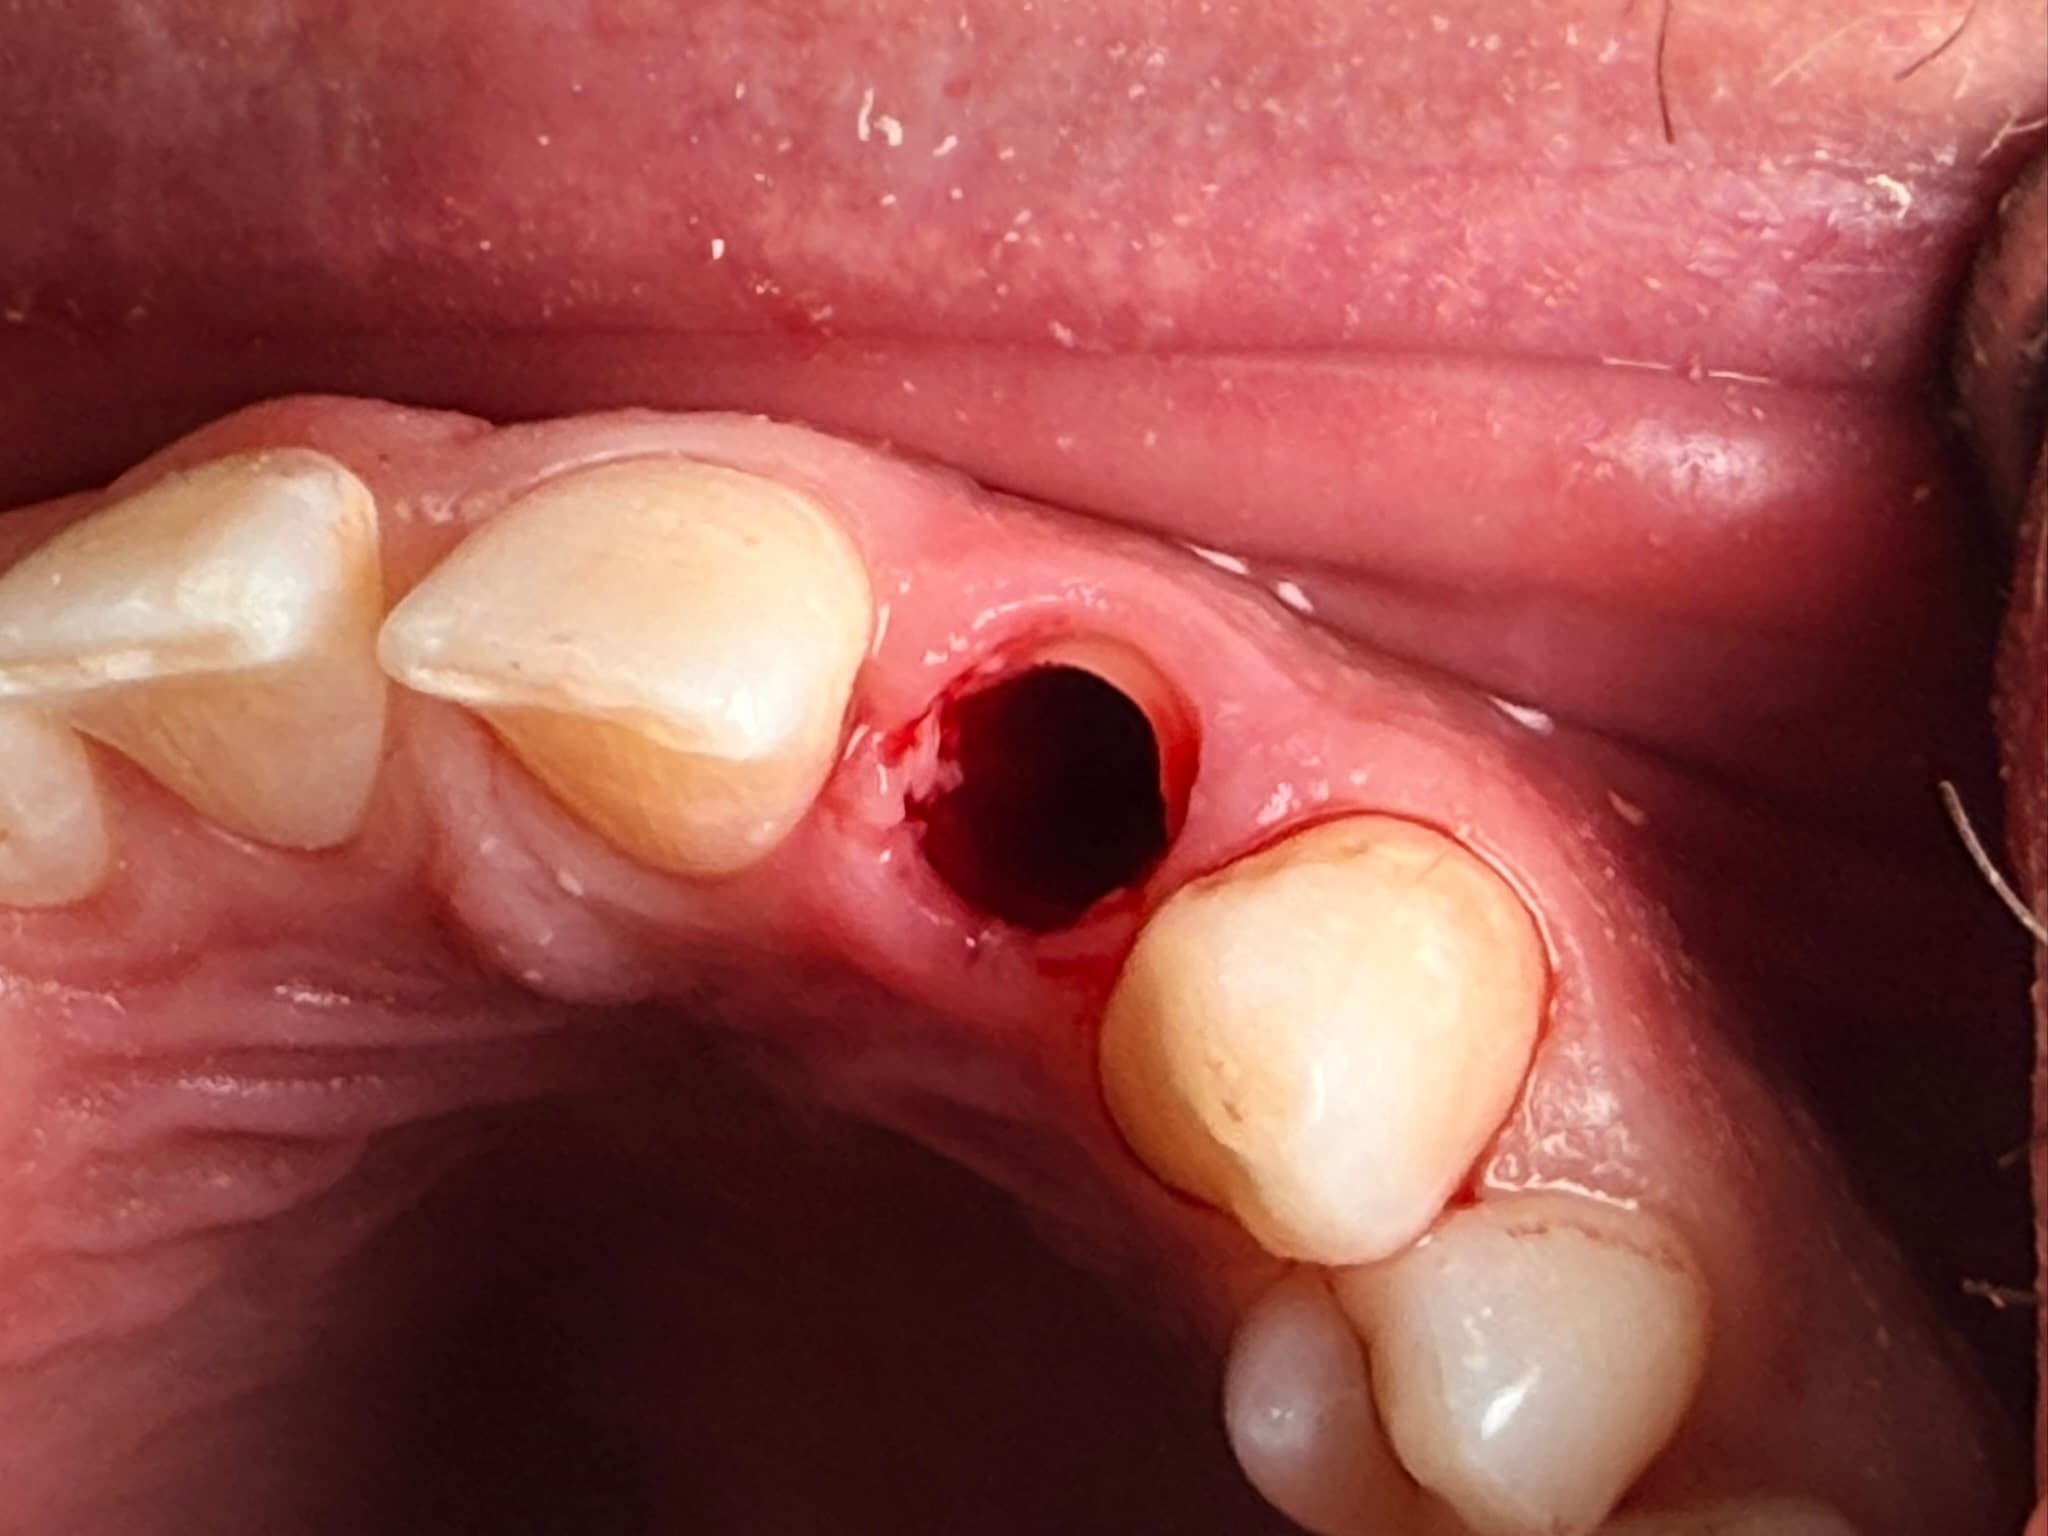
The Socket Shield
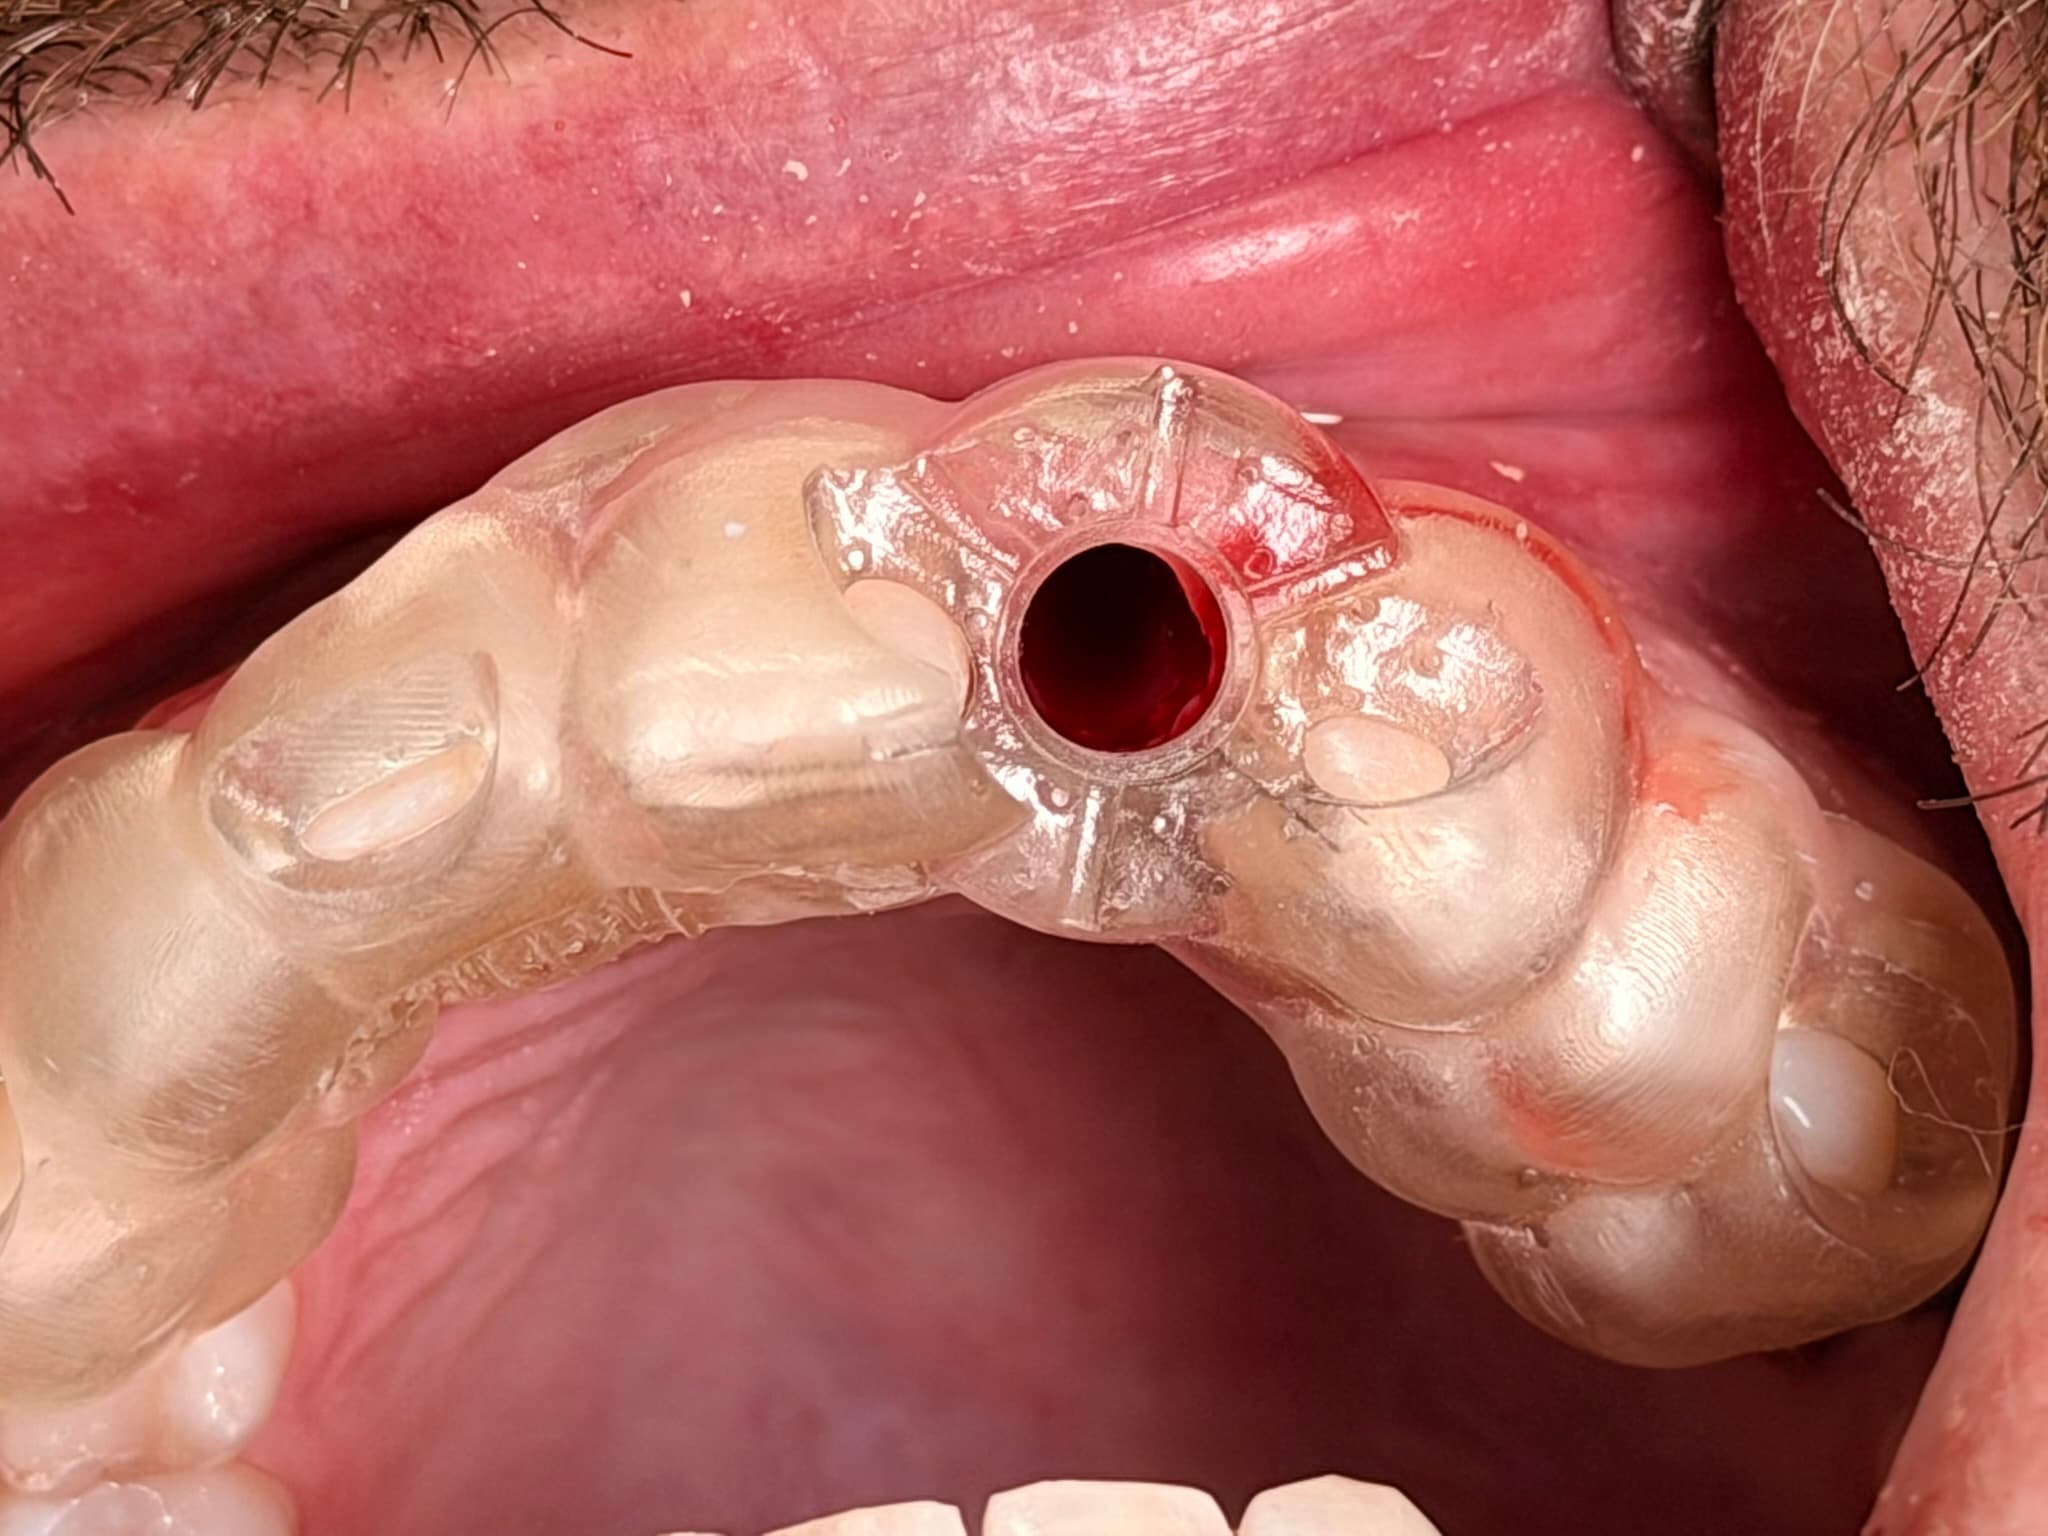
Surgical Guide Seated
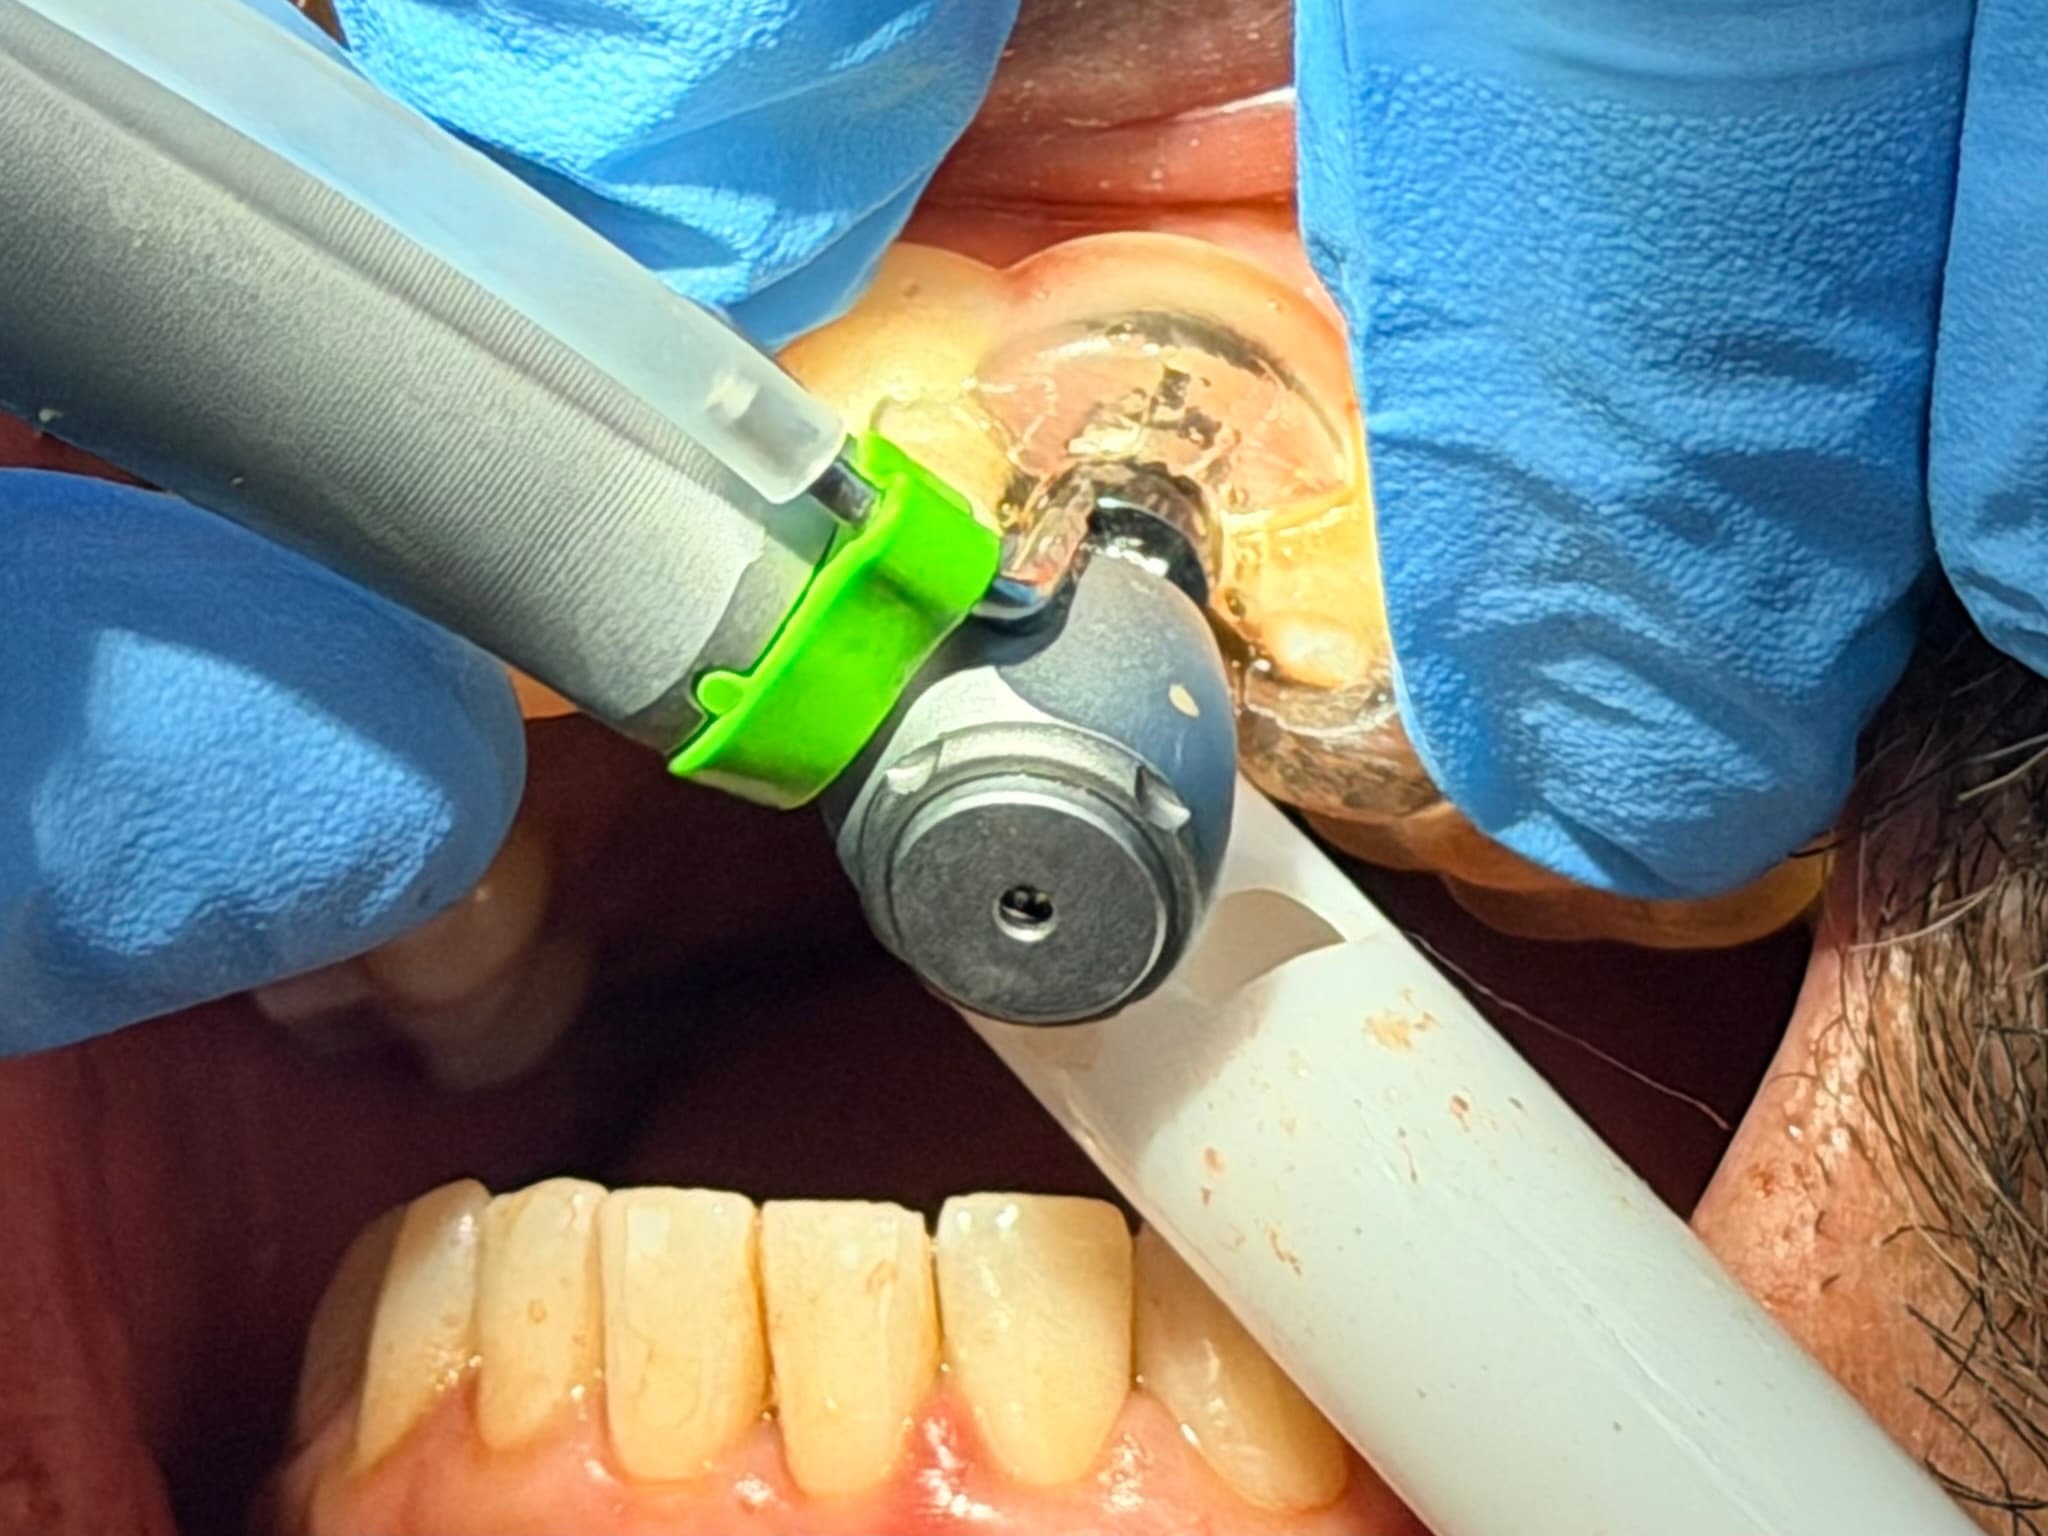
Placement Through the Surgical Guide
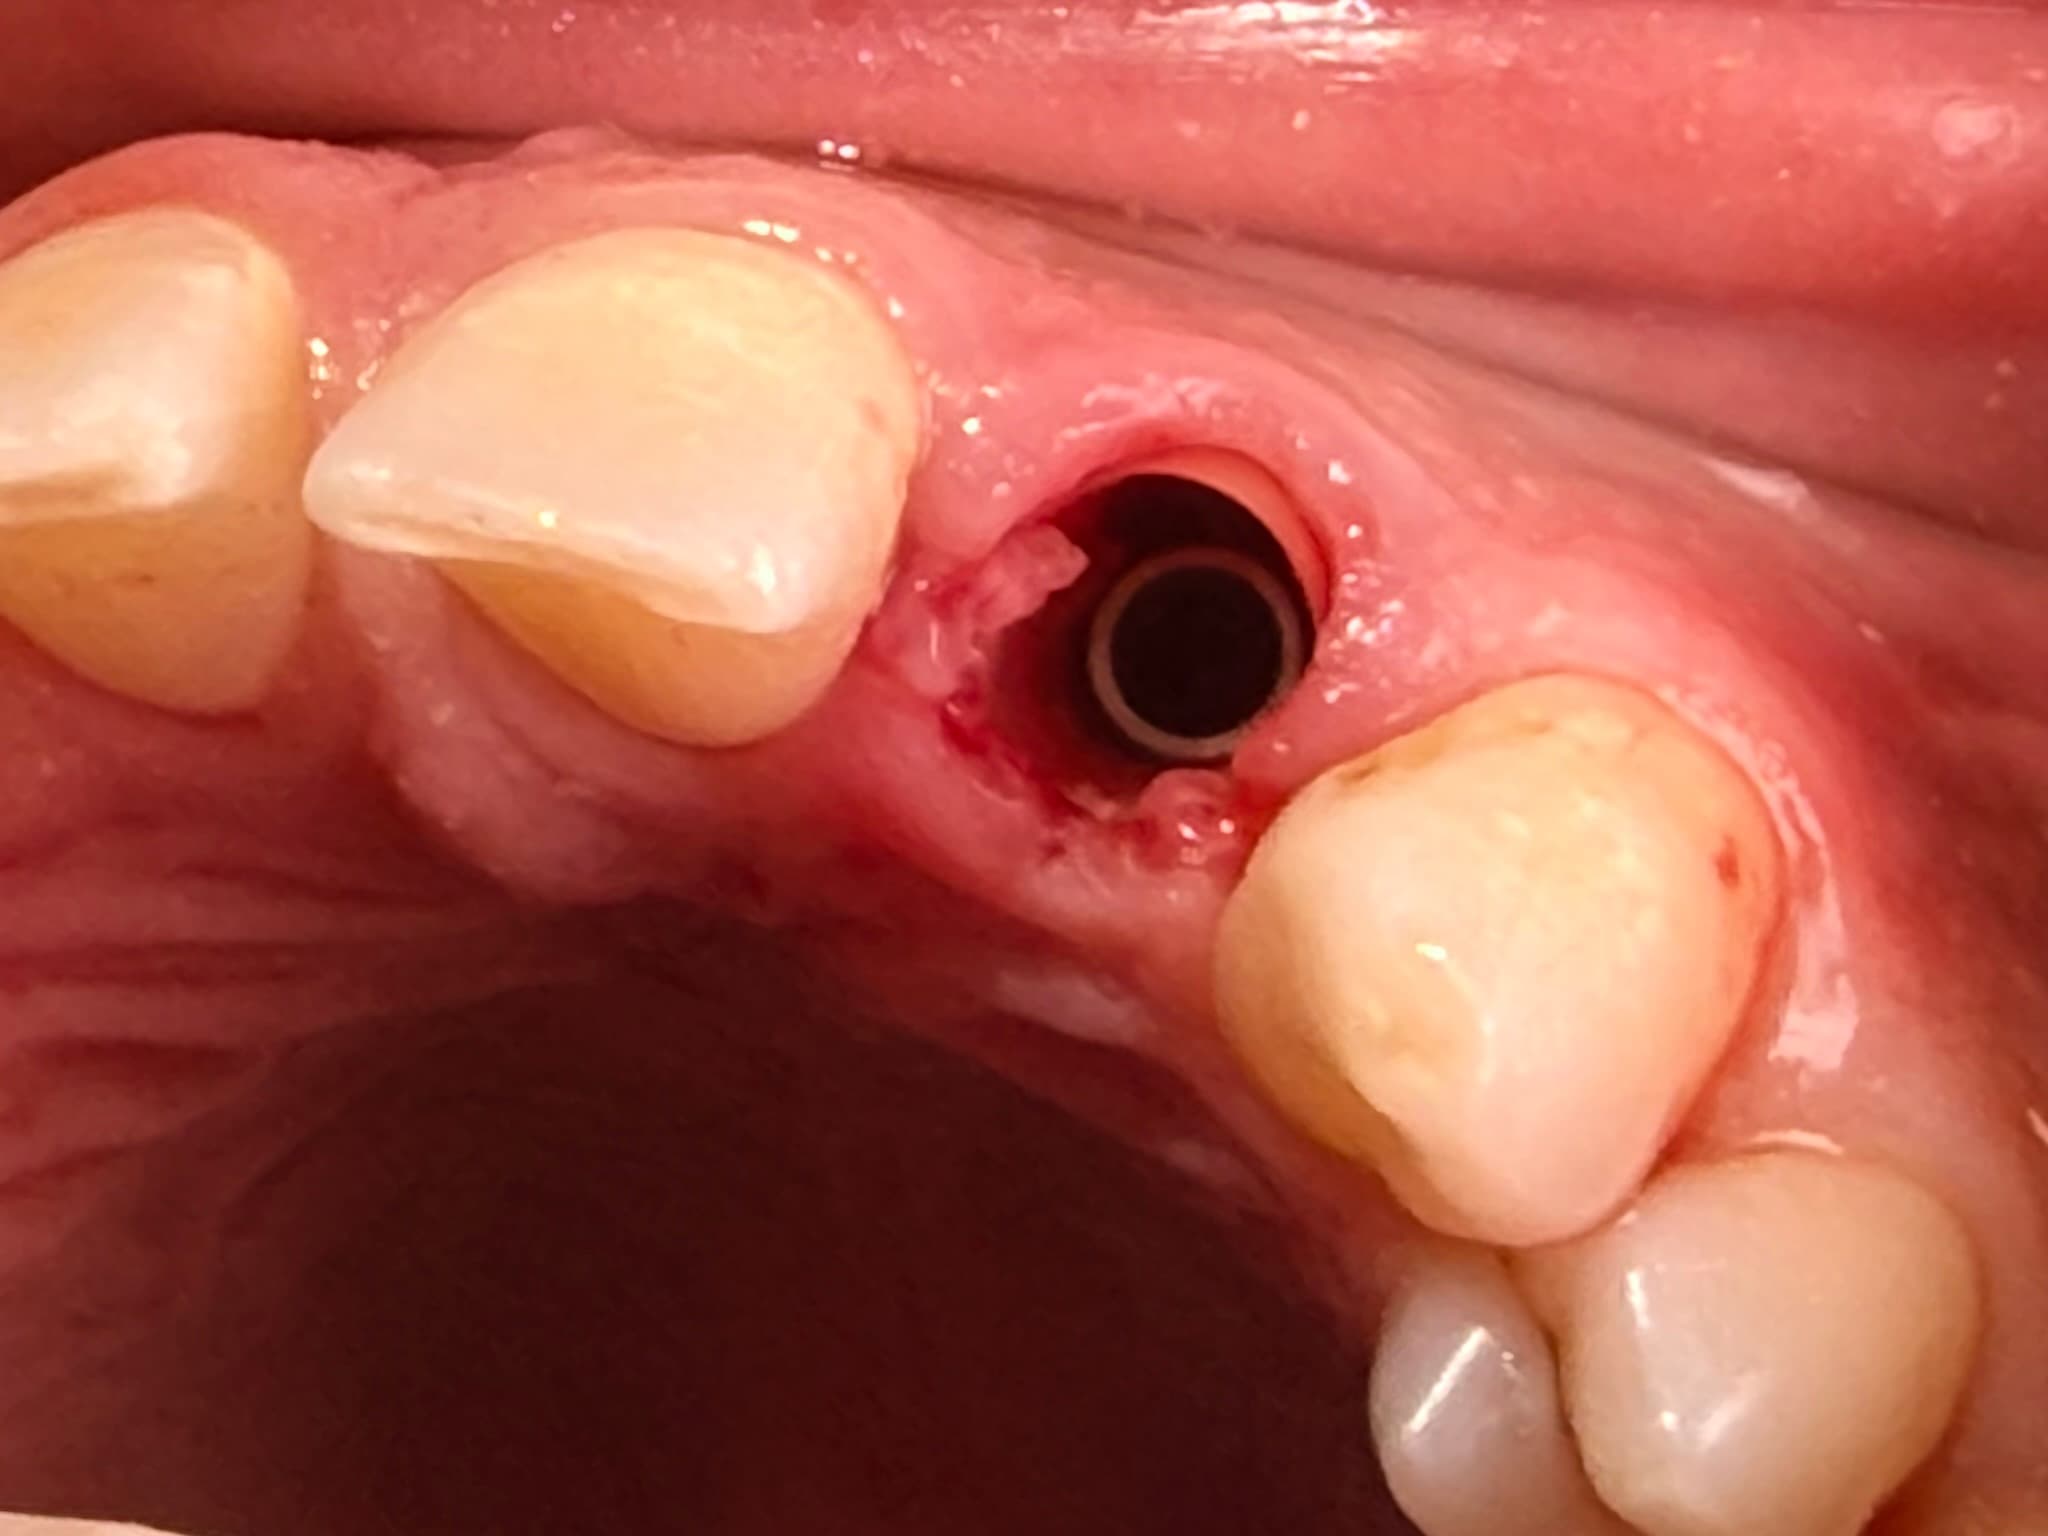
Implant Perfectly Positioned
See What's Possible for You
Schedule a consultation to discuss your personalized treatment plan.